Tag: machine knitting resources
-
Creative Machine Knitting by Alison Dupernex
Here in the USA, recent Machine Knitting books seem few and far between. That’s not the case across the pond, and I’ve been able to find quite a few wonderful skill and pattern books published within the past five years from the UK. Here’s my review of Creative Machine Knitting:…
-
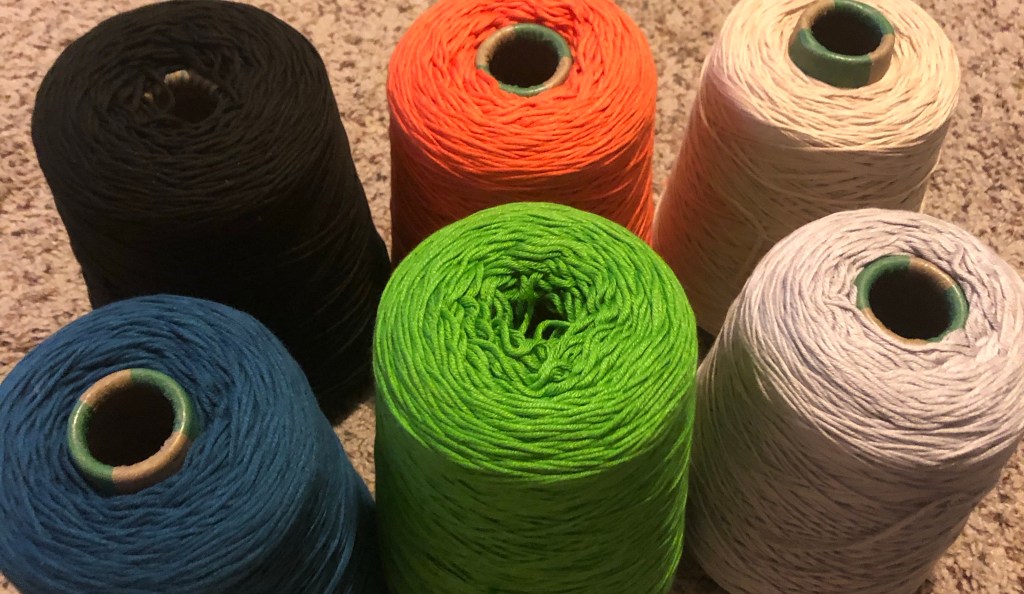
Finding Cone Yarn
Knitting machines can use a range of yarn from all kinds of put-ups like we saw in my last post, but the easiest and best put-up for machine knitting is cone yarn. Cones don’t need extra preparation before use, have more yardage in general, and often feature unique textures or…
-

Your YARN is the Problem — Part One: Hand Knitting Yarn Prep
You might have encountered one of these problems before: the yarn stopped flowing through the tension unit and the tension wire bent all the way towards the carriage and needle bed, the carriage jammed, an entire row knitted at a much tighter tension than you wanted, the yarn broke. If you…
-
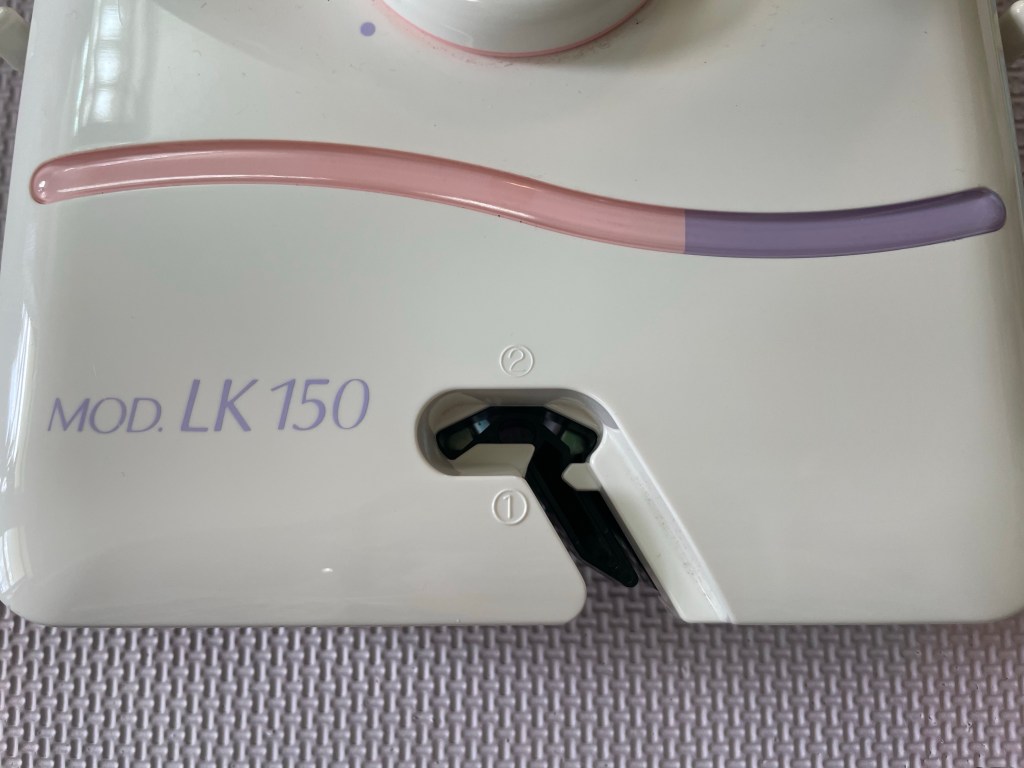
Yarn Plating and the SilverReed LK150
Plating takes yarns that might not be suitable on their own for your machine and makes working with them possible.
-

Spring Seminar Coming Soon! April 1, 2023
That’s right! It’s nearly time for our next seminar! Hand and machine knitters, you won’t want to miss this! We’re learning how to design a custom fit knitted sweater! Attendees will learn measurement tips and tricks to accommodate various body type needs and draw a body block schematic based off…
-
Resource Roundup- YouTube Edition
Do you have a favorite machine knitting YouTuber? You will after this post! Each channel name links to the channel, so check them out! Anna Haferman Anna has a tutorial about using a KnitLeader with the LK 150! How awesome is that? She also has project videos with really clever…
-
February Happenings
Wow! January flew by! I hope you all are staying warm and well. Winter Knit-A-Long Continues Don’t worry if you missed any meetings in January! If you’d like to join us in knitting the Festival of Stitches by Lisa Hannes, please do! This is a very casual KAL focused on…
-
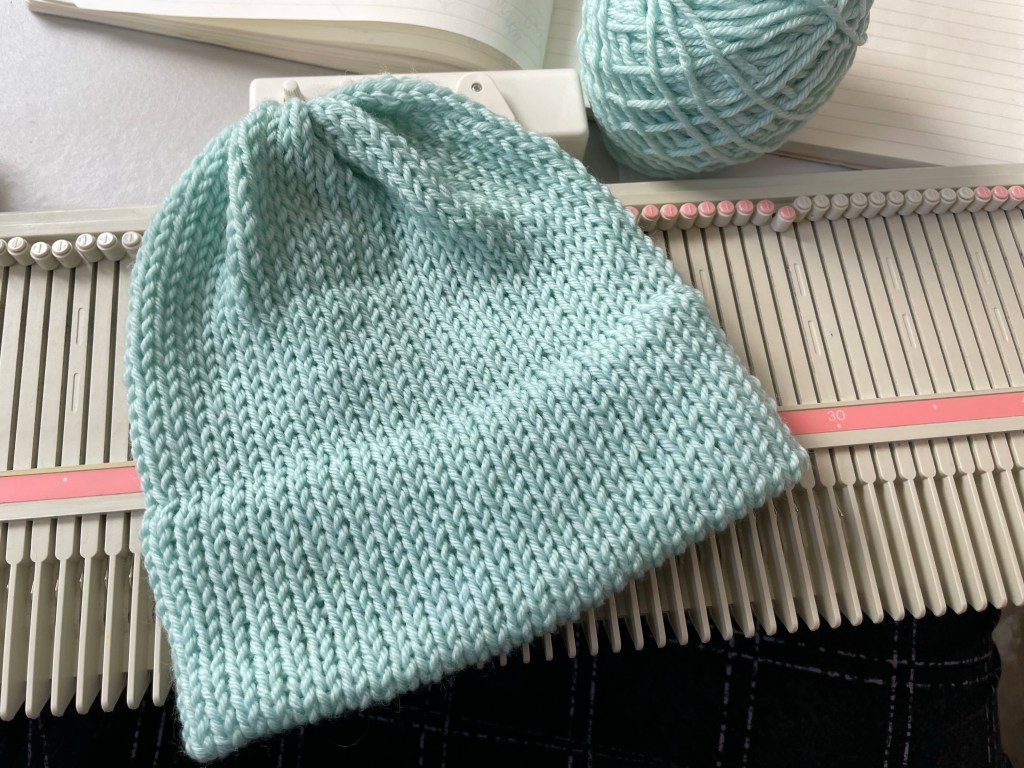
The Doodle Beanie — Free Machine Knitting Pattern
I was playing around on my Silver Reed LK150 a while back and came up with this simple beanie that begs to be customized. This hat has a folded brim and a cinched crown that would look great with an added pompom. It’s just a rectangle, but it’s the perfect…
-
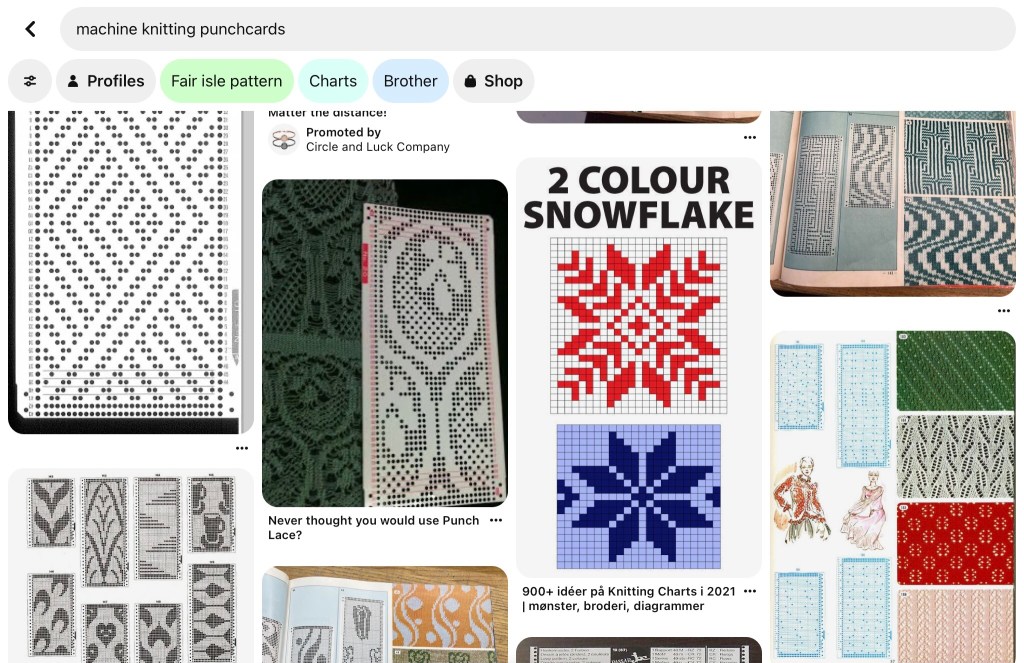
Looking for Machine Knitting Media? Pin it!
Sometimes you just want to scroll the internet and see what others are doing with their knitting machines. You might use Facebook groups or your Instagram feed, but what about Pinterest? I’ve used Pinterest since it began in 2010. I planned my wedding by making mood boards and plotted out…
-
Spring Machine Knitting Seminar
It’s been a while, everyone! I hope you’ve been doing well! If you follow me on Instagram (@ely.knits), you’ll know that I recently hosted my first machine knitting seminar in Tulsa at Get Stitchin’! “Fit, Fabric, and Finishing” was our theme on October 15. Pamela Carrico of CMO Designer Knits…
