Category: Knitting Machines
-
Link Collecting
Hello, all! I hope you’re all well and ready to greet the new year with fulfilling yarny goals and intentions. Here’s where you can help me out– Please send me links to your favorite Machine Knitting resources! Whether it’s a forum, a Discord server, a YouTube channel, a designer’s page,…
-
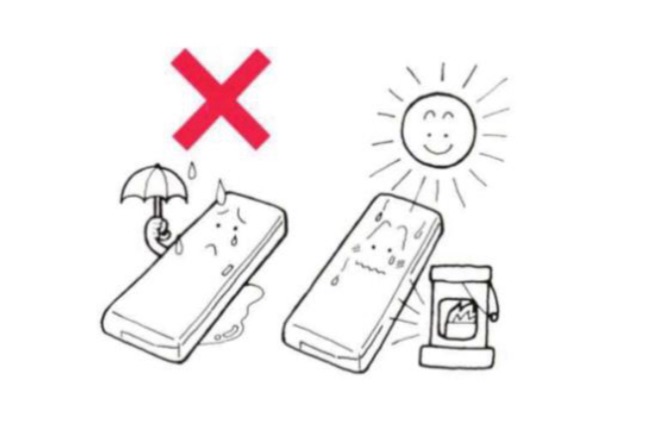
How to Store Your Knitting Machine
I don’t know many machine knitters who have just one knitting machine. After all, there are three common gauges (4.5mm standard, 6.5mm, mid-gauge, and 9mm bulky) that knit different yarn sizes. It’s wonderful if you’re fortunate enough to have the space to leave all three sizes of machines set up,…
-
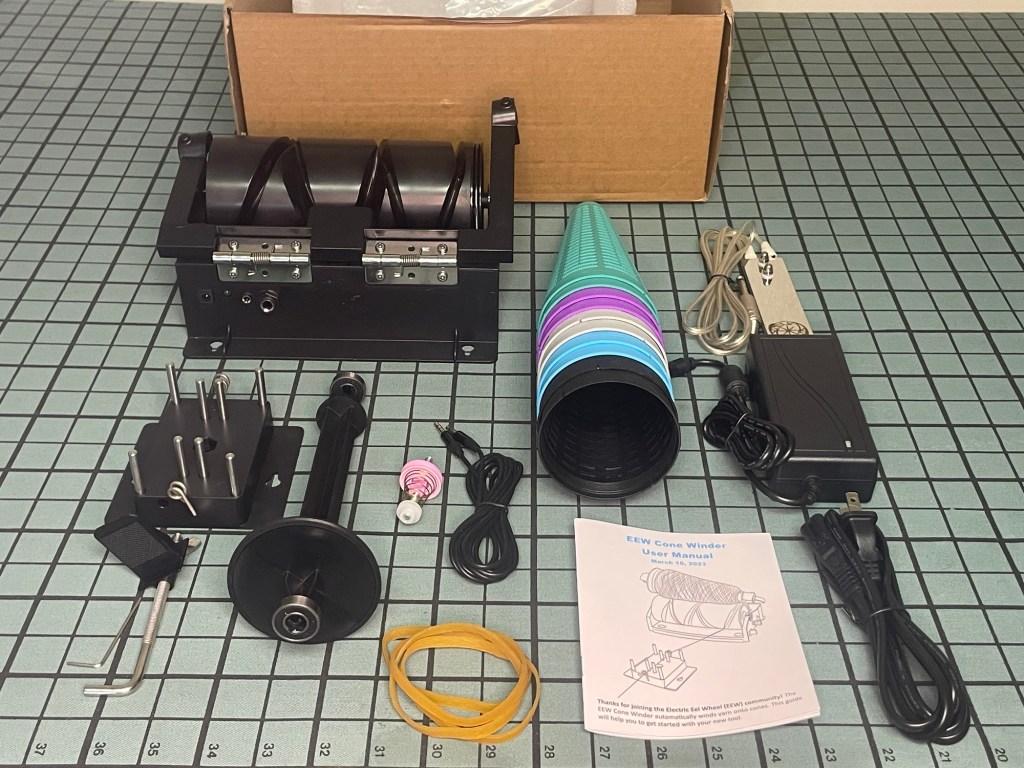
The EEW Cone Winder- Unboxing and Initial Thoughts
If you’re familiar with the Electric Eel Spinning Wheel, you might know that Maurice Ribble of Dreaming Robots, the mind behind the magic, recently released an electric cone winder! I backed the project on Kickstarter in 2022. I have only backed three or four Kickstarter projects, but I have to…
-
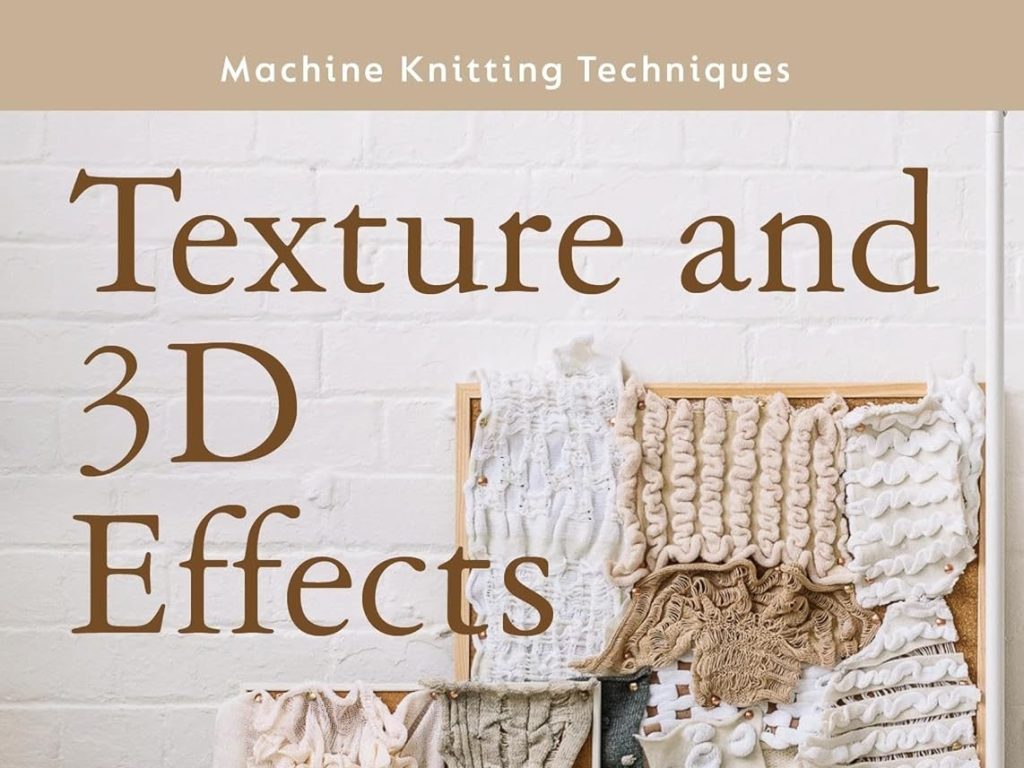
Machine Knitting Techniques: Texture and 3D Effects
If you have a little bit of Christmas Cash and you feel like investing in yourself for the New Year, pick up the newly-released Texture and 3D Effects Machine Knitting Techniques book. Amber Hards teaches texture and playfulness in her essential addition to the series. “[Hards] encourages you to explore…
-
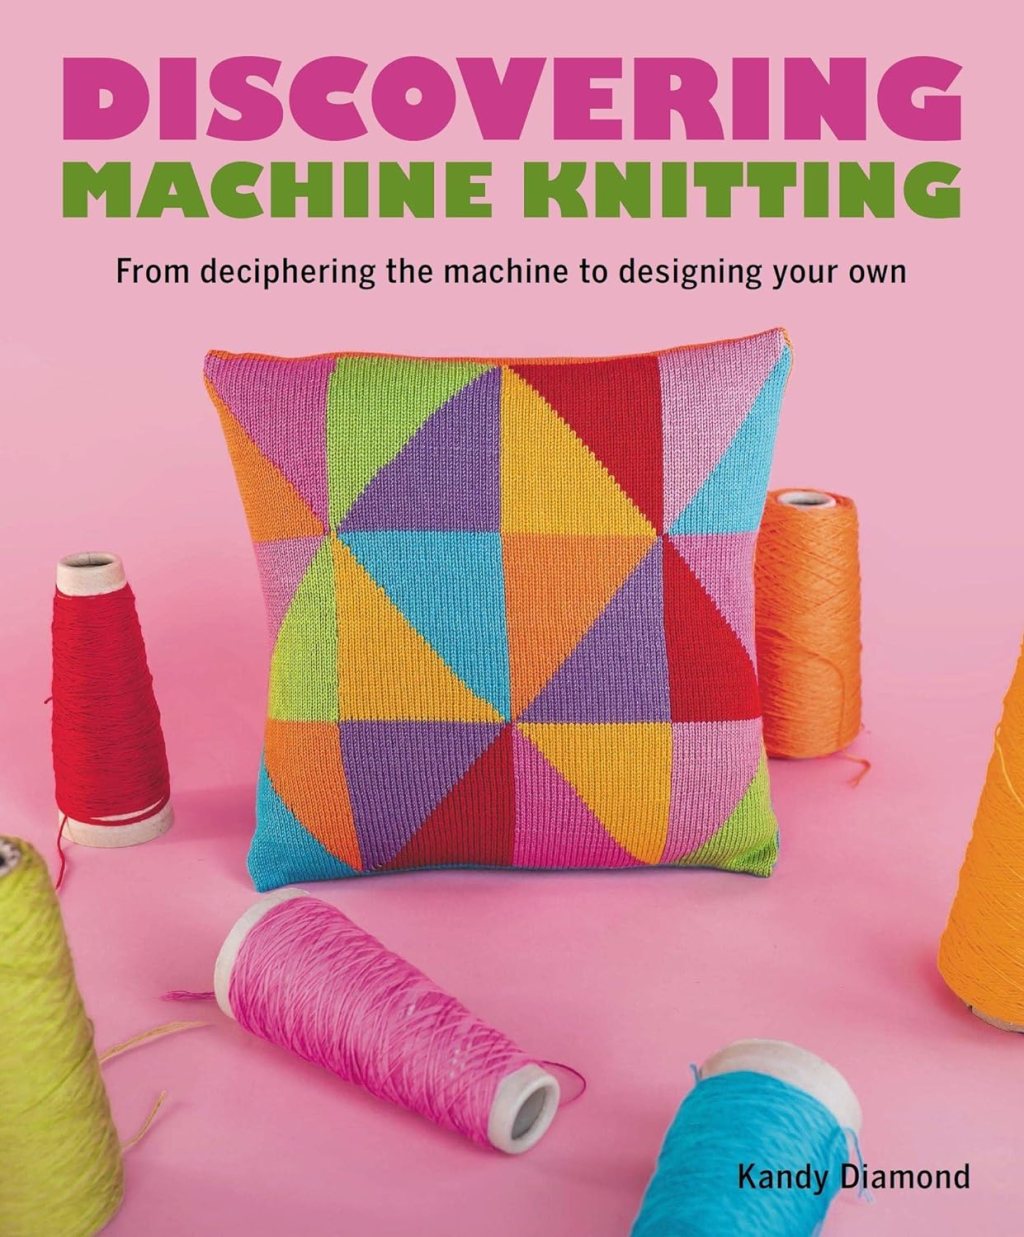
Discovering Machine Knitting by Kandy Diamond
I love my vintage machine knitting book collection, but new machine knitting books just make my day. They’re proof that machine knitting isn’t dying — it’s still evolving, and dare I say, growing. Discovering Machine Knitting by Kandy Diamond releases in North America on October 10, 2023. It’s more than…
-

Confronting Color
In case you missed it, I recently reviewed Alison Dupernex’s Creative Machine Knitting. And boy can I say I was excited but also nervous when I noticed she replied to my Instagram post about the review. …I threw all my designs in and my ‘colour madness’ to encourage and inspire…
-
Creative Machine Knitting by Alison Dupernex
Here in the USA, recent Machine Knitting books seem few and far between. That’s not the case across the pond, and I’ve been able to find quite a few wonderful skill and pattern books published within the past five years from the UK. Here’s my review of Creative Machine Knitting:…
-
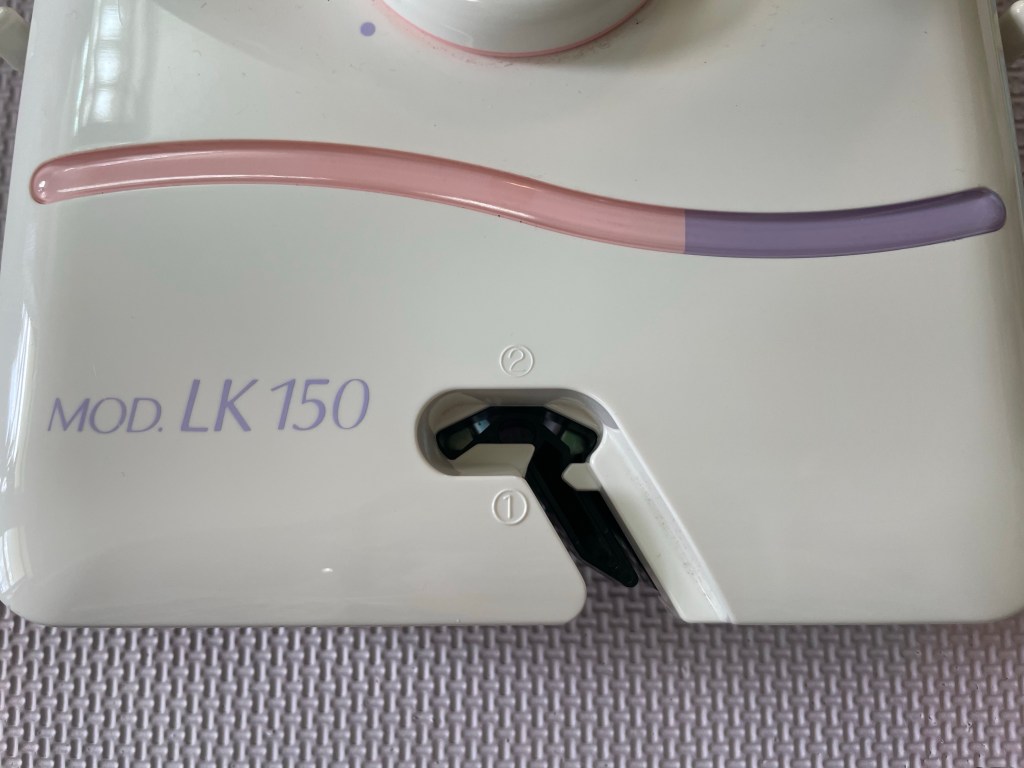
Yarn Plating and the SilverReed LK150
Plating takes yarns that might not be suitable on their own for your machine and makes working with them possible.
-
Resource Roundup- YouTube Edition
Do you have a favorite machine knitting YouTuber? You will after this post! Each channel name links to the channel, so check them out! Anna Haferman Anna has a tutorial about using a KnitLeader with the LK 150! How awesome is that? She also has project videos with really clever…

