This post contains affiliate links. If you purchase something using one of my links, I may receive a small commission at no cost to you. If you don’t have a local place to support, please consider using my link as it helps me continue to provide you with quality free content.
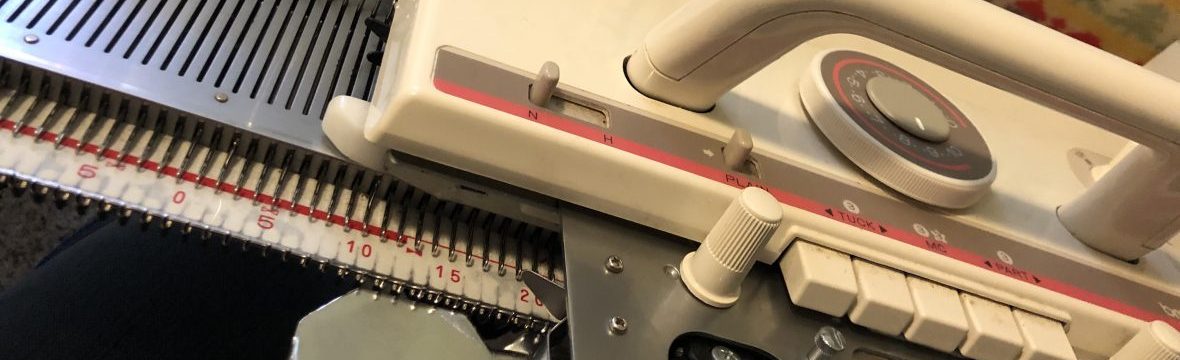
We moved to our new place last year, and I have a studio! Yay! It’s a small building around 400 square feet just steps from our garage.
It’s been a dream come true having a large, dedicated machine knitting space and not just a small craft room, but it’s a lot more chaotic than I hoped.
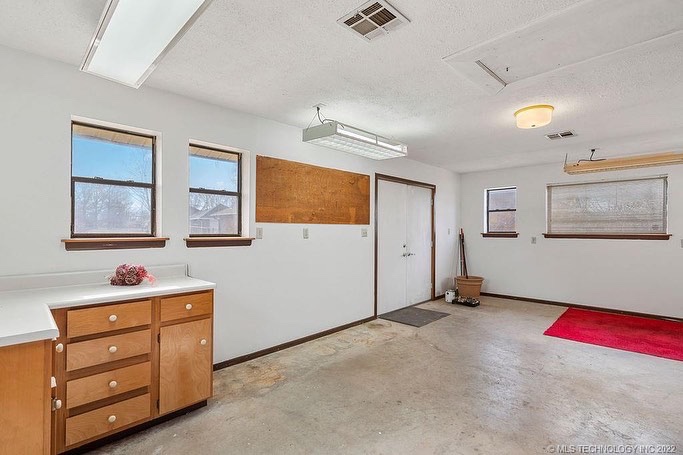
I rushed to move my things in and managed to paint the paneled outer workroom wall before I had a couple surgeries. I’m not fully unpacked yet.
Wall Storage
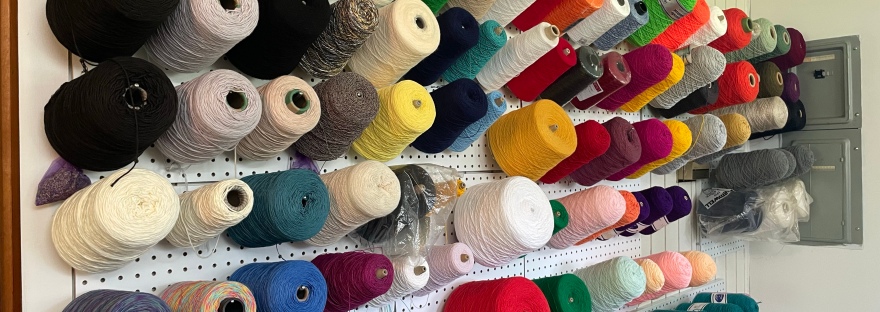
I painted the paneled outer workroom wall and covered it with 2×4′ pegboard panels.
All of my cone yarn was finally on the wall… until I found some new old stock yarn and brought in nearly a hundred more cones. (Find some tips on how to find cone yarn in this post.) I had to move my hanks to make room for the extra cones, so I needed more pegboard and more hooks.
I ended up using 16×16″ metal pegboard squares for the rest of the pegboard wall so I could work around my thermostat.

If I had to go back, I think I’d opt for using the 16×16″ size for the whole pegboard wall since I had to wait until my husband had time to help me with the large pegboard and I could install the smaller squares myself.
Here’s what I used:
| Triton 2 x 4′ Pegboard 4 Count | 6″ Pegboard Hooks (better for cones) |
| Metal 16×16″ Heavy Duty Pegboard – 4 Pack | 8″ Pegboard Hooks (better for hanks) |
Cube Storage

My wooden cube storage is full of my knitting books, my vintage magazine collection, and my personal yarn, so, you guessed it, I needed some more storage after finding more vintage patterns.
I opted for a wire mesh cube set that I could reconfigure as needed since I have been rearranging machines and yarn every few months to test layouts. It currently sits under a window, so it was nice to be able to work around the frame.
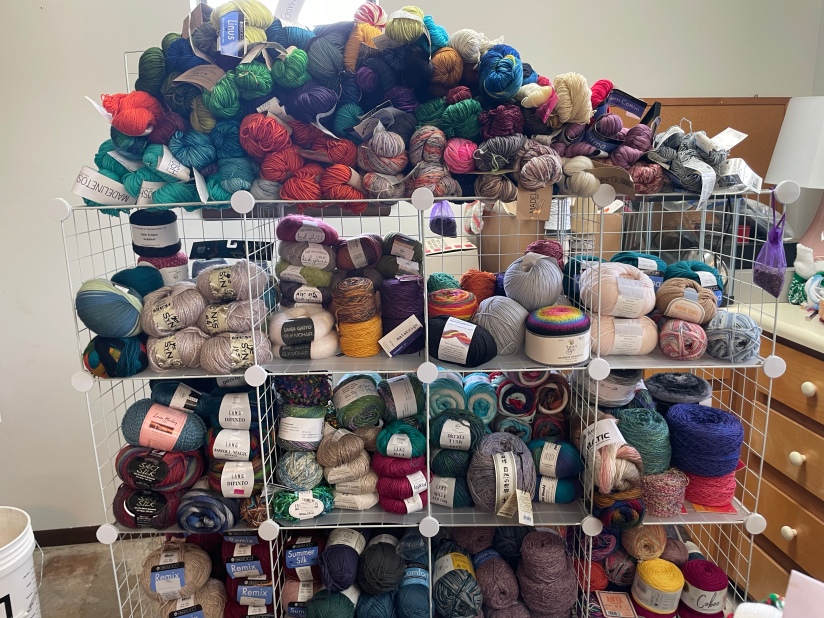
I had to quickly drag the wire cube stack out of the way after an HVAC condensation issue, and surprisingly it stayed together! I didn’t expect that. I wouldn’t suggest moving it like that under normal circumstances, but I wanted to make sure nothing dripped on my yarn.
I think I bought my oldest wooden cube storage unit at Target, but they only come in the 6 cube option there. This one has options from 3-12 cubes, even though I chose to stick with 6 cube units. I have four of them lining a wall now.
What I used
More Work to Do
The studio building was built in the late 1970s or early 1980s, but it is very well insulated. The HVAC has a couple of issues that we discovered after a severe storm-related, days long power outage, some windows need replaced, and some of the lighting fixtures have gone out with no replacement bulbs to be found. I’m using my seed-starting lights as a temporary fix so I can see to knit.
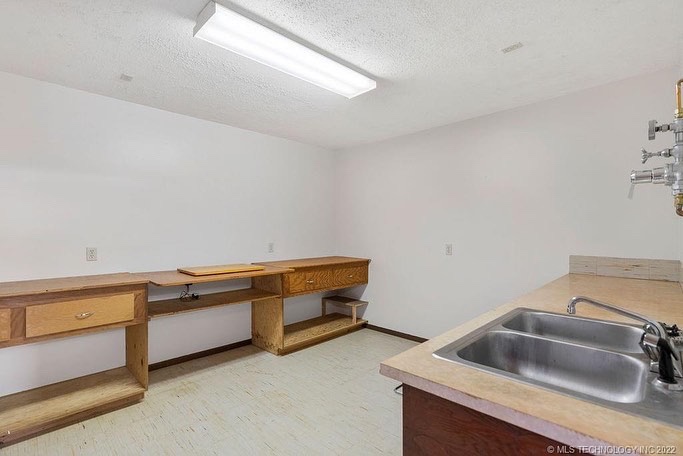
The floor is bare concrete in the main room for one glued down piece of red carpet, and the workroom is tile on top of concrete. I’d like to put in padded flooring eventually.
Oh, and I still have to finish unpacking and organizing my books….
I don’t feel great about how things look in my studio right now, and I really miss my small craft room at our old house sometimes. It had such a cute aesthetic and I really felt creative in that space.
I have to remind myself that I curated the old craft room over the course of the years we spent in that house.
One year I did the walls. Another year I added more storage. The pegboard closet wall came close to the end.
I did all of the organizing in this post gradually over the year or so we’ve been in this house. That’s not bad progress for a busy year at all!
I’ll continue tweaking and optimizing as my budget and time allow. Slow progress is better than no progress!
I hope sharing the slow progress on my studio gave you some inspiration or encouraged you in your own organization progress. If you choose to try out some of the products that I linked, thank you, and please let me known what you think!
I’d love to see pictures of how you utilize your space.
Thanks for reading and joining me on my machine knitting journey!