Patterns

The Doodle Beanie — Free Machine Knitting Pattern

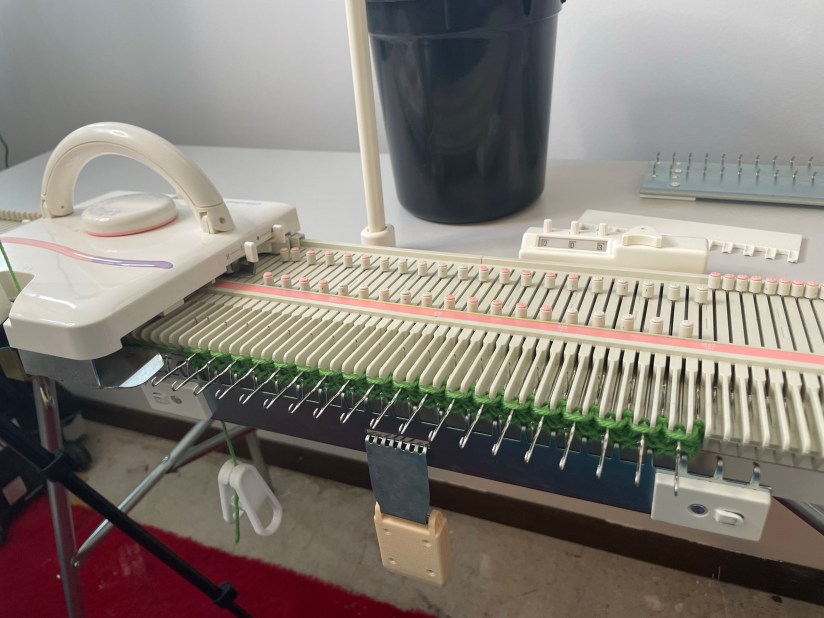
I was playing around on my Silver Reed LK150 a while back and came up with this simple beanie that begs to be customized. This hat has a folded brim and a cinched crown that would look great with an added pompom.

It’s just a rectangle, but it’s the perfect template to doodle around with and try out new things as you develop your machine knitting arsenal of techniques. I hope you enjoy it and put your own spin on it!


Materials

50-150g of Worsted Weight Yarn (Samples use Cascade 220 Superwash Wool at T7)
Silver Reed LK 150 6.5mm knitting machine

Sizing

Baby- 60 stitches, 30L-30R
Child/Teen- 80 stitches, 40L-40R
Adult- 90 stitches, 45L-45R
Adult L- 100 stitches, 50L-50R

Gauge

4 st per in at T7 in Cascade 220 Superwash


The Doodle Beanie concept will work with any machine gauge and suitable yarn. Knowing your stitches per inch from swatching yarn is immensely beneficial, so I encourage you to swatch beforehand if you have no clue what yarns knit best at what tensions on your machine. 


Pattern Instructions 

Set Tension to 7.
E-wrap CO 60 (80, 90, 100) stitches.

Brim:
Knit 20 (30, 40, 40) rows.
Hang hem by picking up the e-wrap and hanging it on the needle above it. 
Knit 1 row at T9. 

Revert back to T7.
Reset to RC000

Body:
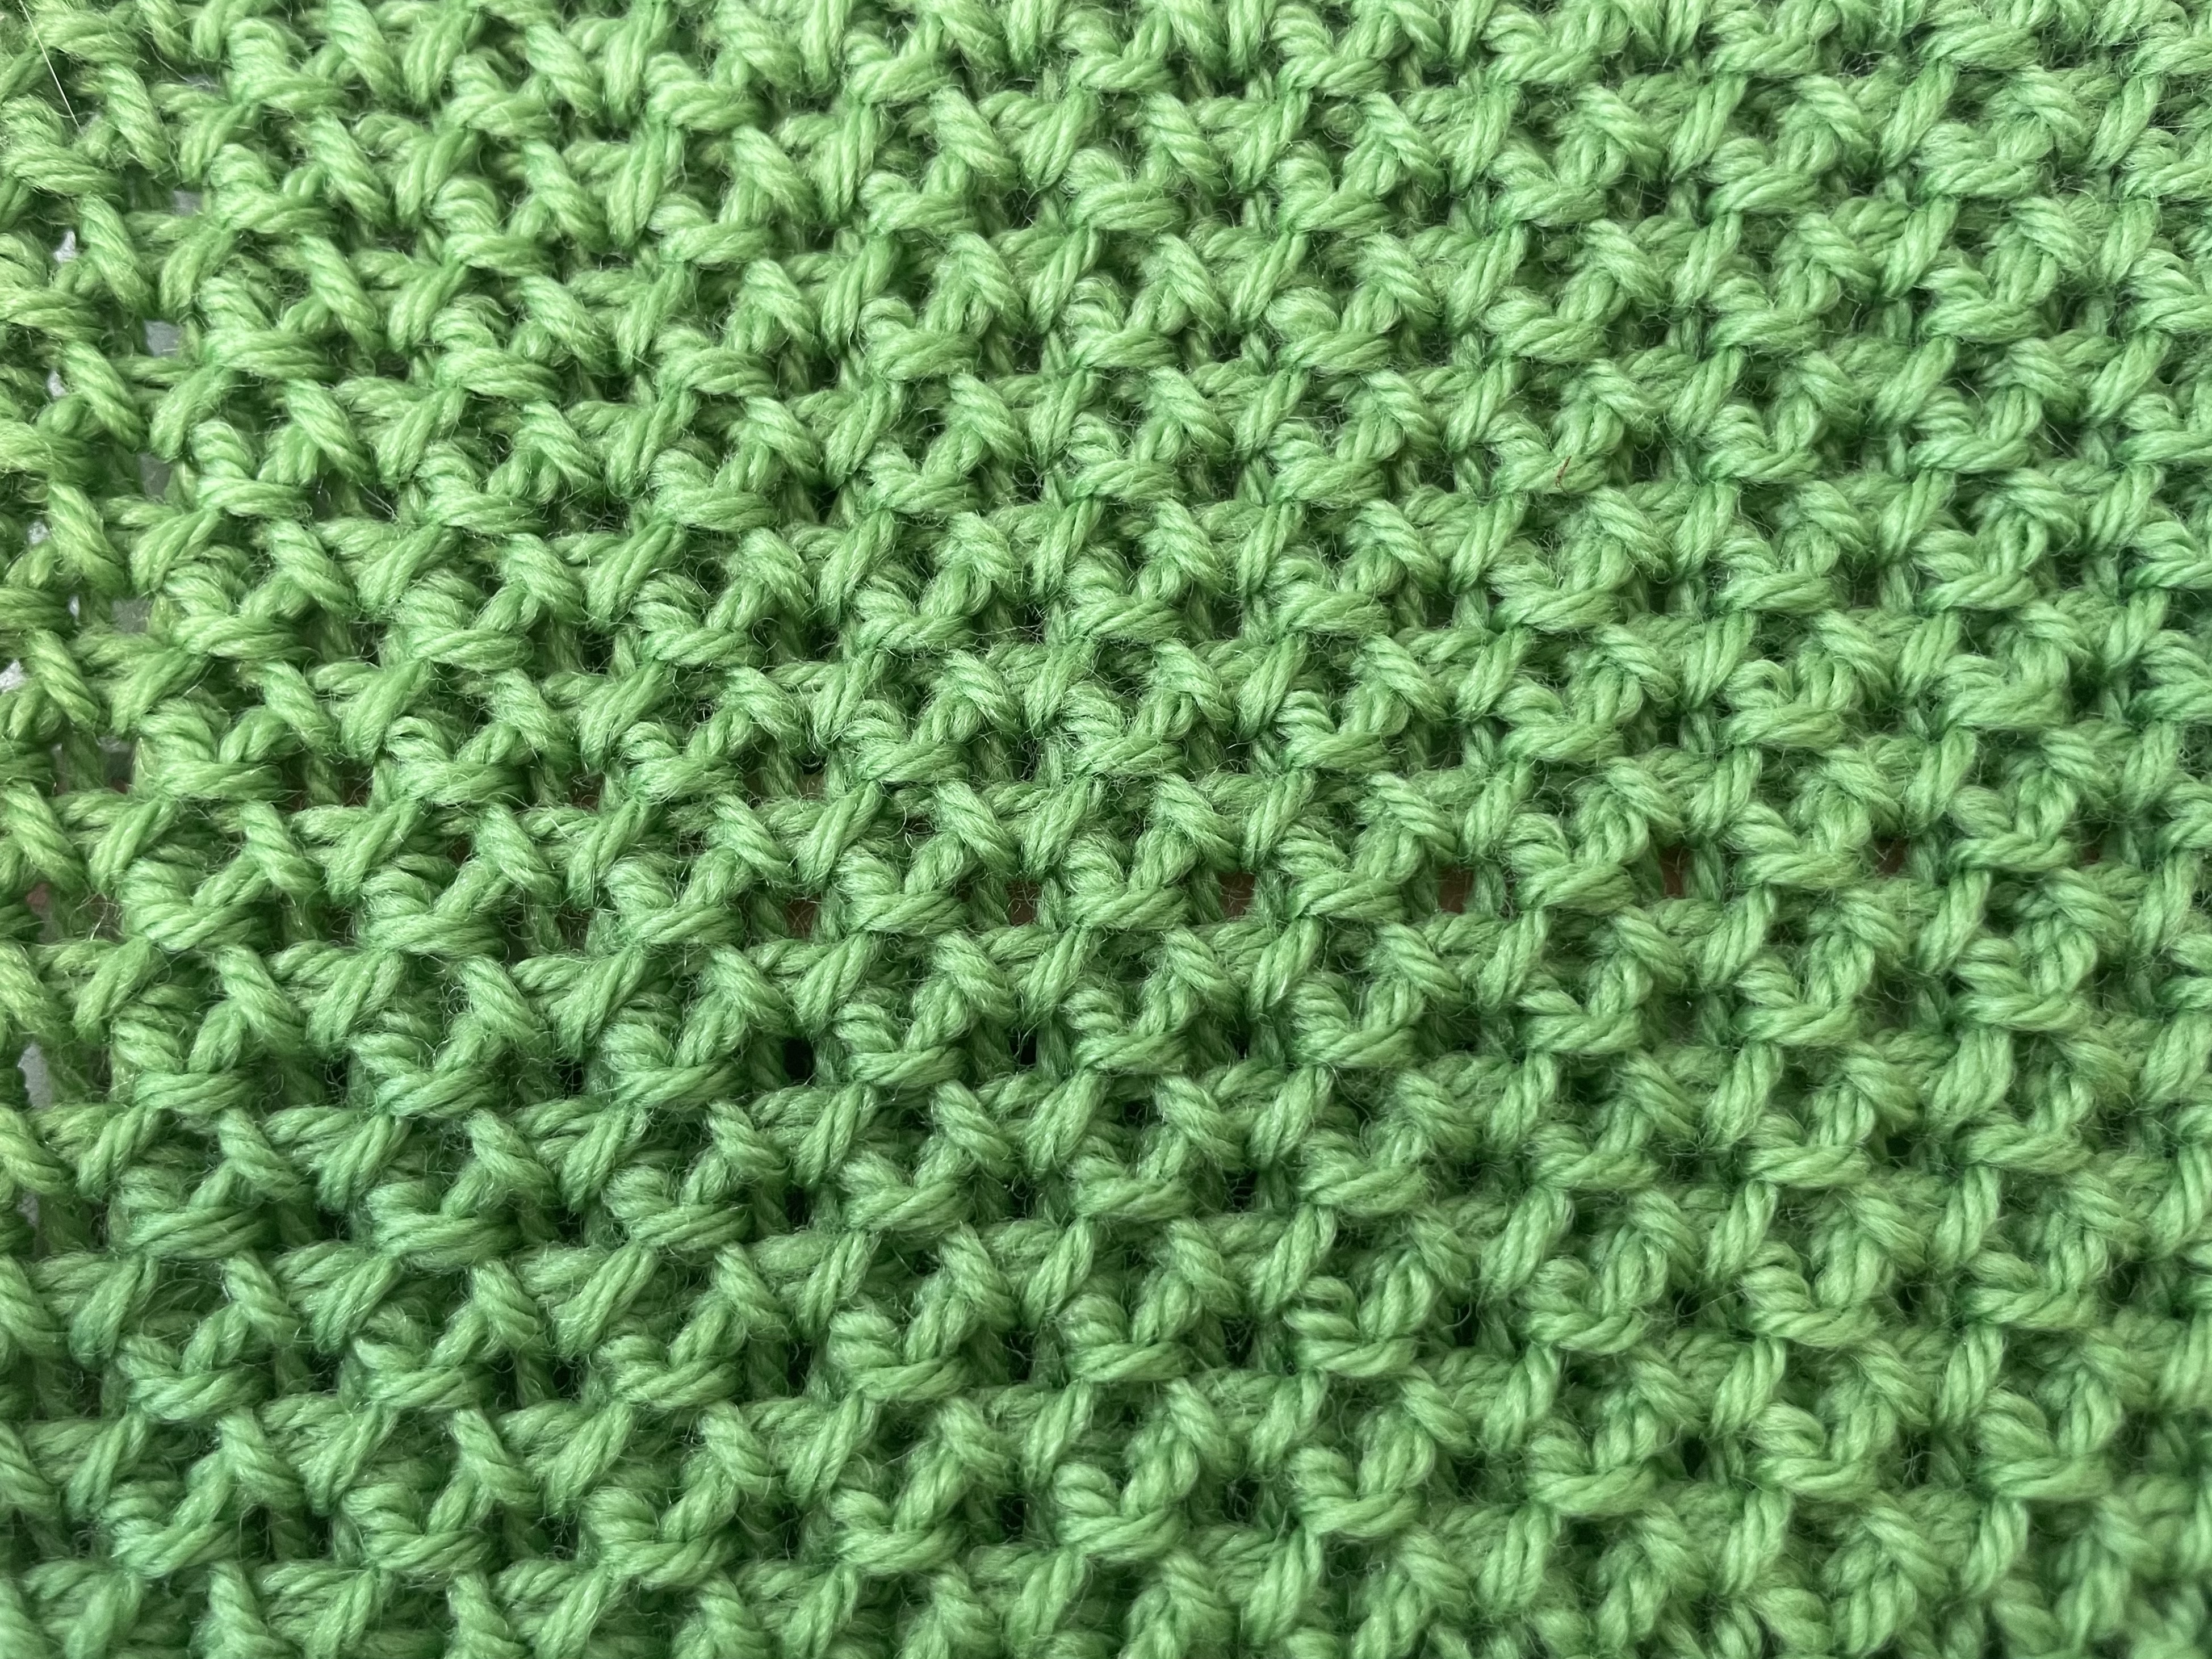
This is the place to experiment with stitch patterns, stripes, etc
Knit 20 (30, 40, 40) rows.

Crown: 
Transfer stitches to EON.

Tension down to T6. Knit 1 row.
T5. Knit 1 row. 
T4. Knit 1 row.
T3. Knit 1 row.


Finishing:
Do not remove stitches from needles. 
Leaving a tail long enough to seam the beanie, cut yarn. 
Thread needle and sew through the live stitches from the opposite side of the tail before removing the beanie from the machine. 
Cinch the top of the beanie together. 
Pull tightly but be careful not to break your yarn. 

Mattress stitch the sides of the beanie together. Weave in ends. Attach a pompom if you like. 


Modification Tips and Ideas

For a rolled brim, halve the number of rows in the brim step and do not hang the stitches.  

If you are not comfortable using your transfer tools or are in need of a very quick knit, tensioning down alone will work, but you will need to cinch the top together above the remaining live stitches like the pictures below to close the crown. The density of stitches at the crown is why we decrease to EON.


If you want a bit of a slouchy beanie, you can add 5 rows and skip tightening tension in the crown altogether. It will be easier to cinch the top if you decrease to EON.

Try knitting two strands of smaller yarns together or using variegated yarn to spice up the simplest version of this hat. 


Abbreviations

COCast On
BOBind Off
WPWorking Position
CORCarriage on Right
COLCarriage on Left
EONEvery Other Needle
RC ###Row Count ###, i.e. Row Count 023
T#Tension and size number (Tension 1, Tension 2…)

What will you doodle?


Did you knit a Doodle Hat? Please consider sharing your projects on ravelry so I can see what you made. I love seeing project pictures!

If you’d like to help support the site, please consider buying me a Ko-Fi.

As always, thank you for joining me on my machine knitting journey! Let me know what you think below in the comments. I’m also happy to hear from you via my contact form or on Instagram.

Knitting Machines, Patterns

Free Step-by-Step Wristwarmer Pattern

Happy New Year, everyone!

You might recognize this stitch from my Using The Needle Beetle with Bonus Baby Blanket Recipe post.

I received a few requests for a step-by-step tutorial (a few of which were tied up in spam filters, so my apologies to those of you who haven’t received a reply yet) so here it is!

This is a nice introduction to tuck/textured stitches for beginners since needle selection and carriage changes are isolated to the first and fourth row of this four-row repeat.

Check the notes after the pattern if you’re interested in modifications! The abbreviation key also follows the pattern.

Solid vs Multicolor in this textured tuck stitch

Materials

Silver Reed LK 150 6.5mm Mid-Gauge Knitting Machine & Accessories
1 ball Cascade 220 Superwash (or any in the 220 family)
-or-
100g worsted weight yarn

Pattern Instructions

Set carriage to Tension 6 or number needed to achieve desired fabric

Initial Setup:
1) E-wrap CO 32 stitches from left to right (16L to 16R). COR
2) Knit 1 row. COL
3) Hang cast on comb and weights. COL
4) Knit 1 row. COR. Reset RC to 000.

Pattern Repeat:
Pattern row setup:
RC 000. COR.
Set Carriage to HOLD.
Place EON in hold beginning with the second needle (16R in WP, 15R in HOLD, etc). Last needle on the left (16L) should NOT be in HOLD. You should have two stitches in WP at the left edge.

Knit 3 rows.

RC 003. COL.

Set Carriage to KNIT.
Knit 1 row.

RC 004. COR

All needles are now in WP ready for selection for the next repeat.

Repeat from pattern row setup 18 times until RC 072.

Finishing:
Knit 1 row. RC 0073.

Perform the Backstitch Bind Off. This can be found in the LK 150 manual on page 38.

Choose whether you wish to use the purl side (the side that faces you during knitting and the side pictured at the top of the post) or the knit side (looks like a wonky stockinette stitch, pictured just above) as the public/outward facing side of your wristwarmers.

Wrap the rectangle around your hand to determine how much room to leave for your thumb and sew up with a tapestry needle using your stitch of choice.

Repeat for second wristwarmer.


Step-by-Step in Pictures

Setup:
RC 000. E-wrap CO from left to right.
Knit 1 row.
Hang cast on comb and weights, being careful not to catch working yarn in the cast on comb.

If you have trouble catching stitches, try pulling the e-wrap forward into the small dip in the needles. Do not pass the latches. (Click to enlarge pictures)


Reset to RC 000. Place EON in HOLD with Carriage set to HOLD before knitting. COR.
Knit across.

RC 001. One row knitted. COL
EON in HOLD should have a strand of yarn over it.

Knit across.

RC 002. Second row knitted. COR.

EON in HOLD now has two strands of yarn over it.

Knit across.

RC 003. Third row knitted. COL.

*RC 003. Set carriage to KNIT. COL.*

Knit across.

RC 004. Fourth row knitted. COR. Needles are in WP ready to be selected for pattern repeat.

Front view of setup rows plus one pattern repeat


Pattern Notes and Modification Tips

This pattern repeat will work with any machine and appropriately-sized yarn.

Stitch count must be a multiple of 2 + 2. The +2 stitches are seaming allowance.

If you change CO and BO types, make sure to use something stretchy. Tuck is a very horizontally stretchy stitch, and hands are active!

Remember to consider the finished project’s purpose when considering changes to a pattern!

Please consider making a tension swatch before you knit.
If you feel like walking on the wild side, note that tuck stitch patterns tend to be shorter and wider than stockinette, so plan on doubling your stockinette row count to reach your desired length.

Weights are very important when knitting tucked stitches. Weight helps the strands over needles in HOLD knit off properly. If you are having issues where stitches aren’t knitting off, try adding weight.


Abbreviations

COCast On
BOBind Off
WPWorking Position
CORCarriage on Right
COLCarriage on Left
EONEvery Other Needle
RC ###Row Count ###, i.e. Row Count 023

Did you make wristwarmers using this step-by-step pattern tutorial? Please consider sharing your projects on ravelry so I can see what you made! I love seeing project pictures!

If you’d like to help support the site, please consider buying me a Ko-Fi.

As always, thank you for joining me on my machine knitting journey! Let me know what you think in the comments! I’m also happy to hear from you via my contact form or on Instagram. I believe I’ve fixed the comment/contact spam filter issue, so please don’t let that stop you!

Uncategorized

Free Machine Knitting Pattern: Sarah in Lace

Hello all, and here’s to another happy day of knitting!

Did you see last month’s free hand-knitting pattern, the Sarah in Lace cowl? I am so grateful for all of the wonderful feedback I’ve received about this piece.

Thank you all for your support!

This month, it’s the machine knitting version’s turn!

Sarah in LaceMachine Knitting Version

Ideal for hand dyed or natural yarns with slight color gradient, this cowl will let the yarn speak for itself. Cables on each side create a scalloped, slightly rolling edge without allowing the normal roll of stockinette stitch.

The simple lace repeat is suitable for beginners familiar with the latch tool and transfer tools.

The length and width are easy to modify–just add lace repeats to achieve your desired size, but note that adding repeats will require more yarn.

Gauge is not vital to this project, but you do not want a tight fabric.


This is the machine knitting version of this pattern.

Visit this post if you’re looking for the hand-knitting version.


Written and Charted Instructions

The lace chart and simplified instructions are on one page (page 5) to be printer-friendly for more experienced knitters, and detailed written instructions for newer knitters follow.

In the written instructions section, I take you step-by-step through the first lace row and the first cable row. The other lace and cable rows build off of those techniques, but are not explained in detail, needle number by needle number.


Decrease Choices

Like its hand-knitting sister, this PDF pattern contains modification tips to help you really make this piece your own.

There are different choices of decreases with instructions for each.

On the left, you’ll see the original decrease intended for the pattern. The detailed row instructions in this pattern assume you are using this decrease.

The yellow sample pictured on the right shows two other decrease options-one on the left of the sample and one on the right. Instructions are provided for this decrease in the pattern notes but not the detailed row instructions like the original decrease.


Pattern Repeat Tip

Mark it up!

Use a set of wet erase markers like Expo’s Vis-à-Vis markers (non affiliate link) to denote cabled stitches, purl stitches, or central stitches of the lace pattern repeat on the bed of your knitting machine. This can help you remember where to start each lace repeat, which stitches to ladder down to latch up as purl, and which direction cable crosses should go.

In this picture, I’ve used an “X” across two needles to denote the center of the lace pattern repeat’s “V” shape. A bullet marks the needle that I need to ladder down and latch up purl stitches on, and diagonal arrows and “CC” for “cable cross” remind me which direction the four-stitch cable over those needles needs to go.

Wet erase markers work great for any project with pattern repeats and are easy to remove once you’ve finished. Have you given them a try yet?


You can find this pattern in my Ravelry Store as a Free Ravelry Download.

This pattern is available to non-Ravelers, too, so don’t worry about signing up unless you want to. download now


As always, please contact me if you find anything missing or notice an error in my patterns. I will correct them ASAP.


Thanks for coming on this machine knitting journey with me! If you like what you see and want to help me bring more machine knitting content, please consider supporting me on Ko-fi.

Uncategorized

Free Hand-Knitting Pattern: Sarah in Lace

Hello all, and happy Friday!

Today I’m sharing the first of many patterns on the new site! Meet

Sarah in Lace

Ideal for hand dyed or natural yarns with slight color gradient, this cowl will let the yarn speak for itself.

The simple lace repeat is suitable for confident beginners familiar with yarn overs, decreases, and simple cables.

Cables on each side create a scalloped, slightly rolling edge in place of the standard garter stitch edging. The length and width are easy to modify–just add lace repeats to achieve your desired size.

Gauge is not vital to this project, but you do not want a tight fabric.

This pattern includes tips on how to modify the edging cables as well as how to adjust both length and width, but please note adding repeats will require more yardage.

This is the hand knitting version of this pattern. (But don’t worry, if you don’t want to translate it to the machine yourself, the machine knitting version will be out soon!)


You can find this pattern in my Ravelry Store as a Free Ravelry Download right here!

It’s available to non-Ravelers, too, so don’t worry about signing up unless you want to. All the pattern details and updates are on the Ravelry page along with extra pictures.

You can also click this link to download now.


A little about the design…

I designed this cowl for my lovely friend Sarah of DoubleDutchYarn back in the fall of 2019 for a juried craft show she was featured in. A lot of life has happened since then, and I’ve learned to take better and more numerous photos.

Here is the only one I have of the original Sarah in Lace cowl!

This creamy alpaca goodness was so soft. It draped like a dream. I just couldn’t help rubbing my face on it, which was a bad idea since I’m allergic to alpaca! The temptation of that delicate yarn halo was just too much.

Poor Sarah felt so bad when I told her about my eyes watering while I wore a bandana over my face to knit this up, but she didn’t know about my allergy, and my fellow allergy sufferers know some things are just worth it.

Sarah offers small batch, locally curated yarns. When you shop with her, you’re supporting local farmers, millers, dyers, and of course, designers like me.

And be sure to stay tuned! This isn’t the only time Sarah and I have collaborated with yarn!