Tag: machine knitter
-
Link Collecting
Hello, all! I hope you’re all well and ready to greet the new year with fulfilling yarny goals and intentions. Here’s where you can help me out– Please send me links to your favorite Machine Knitting resources! Whether it’s a forum, a Discord server, a YouTube channel, a designer’s page,…
-
Squish It! – Jody Long Delish Yarn Review
Hello everyone! It’s been a while! Christmas Covid is the gift that keeps on giving, and recovery has been rough. It’s Fiber Christmas In July time already! I’ve been through a slew of tests with more to come, but I’m finally able to break through the covid brain fog enough…
-
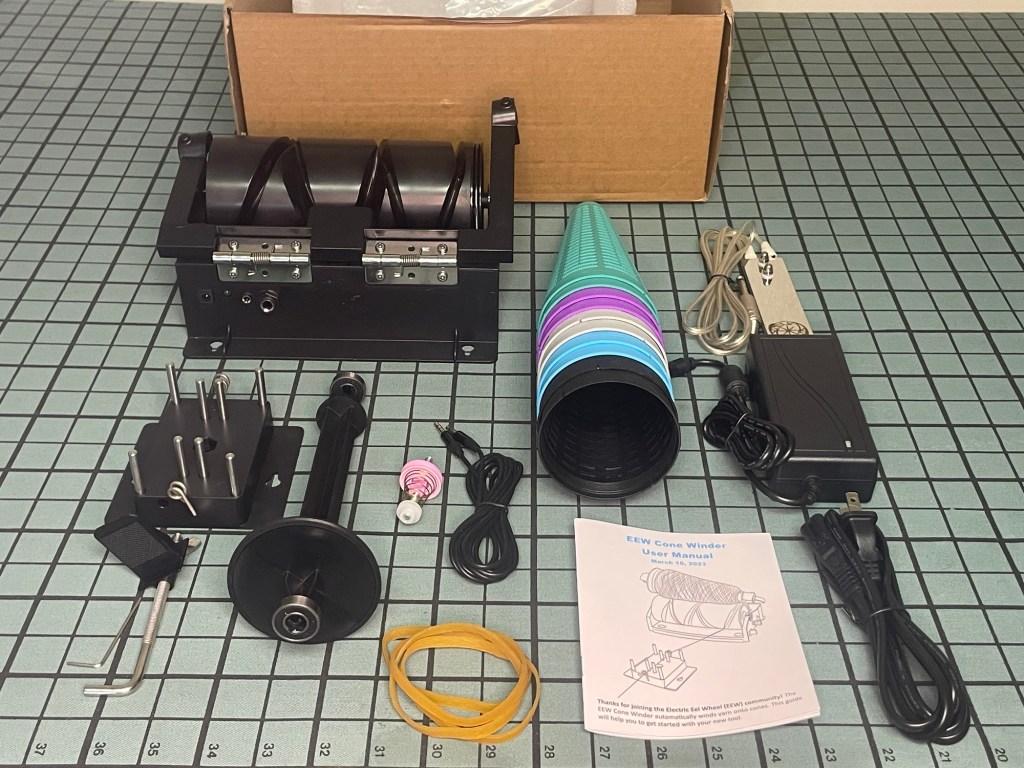
The EEW Cone Winder- Unboxing and Initial Thoughts
If you’re familiar with the Electric Eel Spinning Wheel, you might know that Maurice Ribble of Dreaming Robots, the mind behind the magic, recently released an electric cone winder! I backed the project on Kickstarter in 2022. I have only backed three or four Kickstarter projects, but I have to…
-
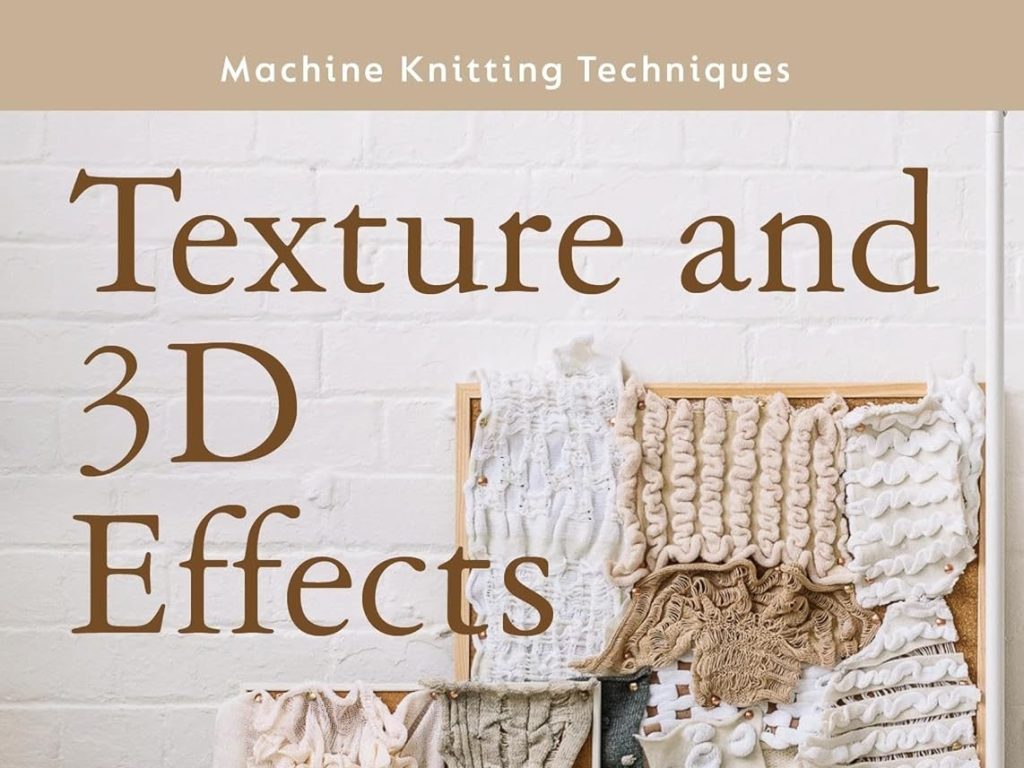
Machine Knitting Techniques: Texture and 3D Effects
If you have a little bit of Christmas Cash and you feel like investing in yourself for the New Year, pick up the newly-released Texture and 3D Effects Machine Knitting Techniques book. Amber Hards teaches texture and playfulness in her essential addition to the series. “[Hards] encourages you to explore…
-
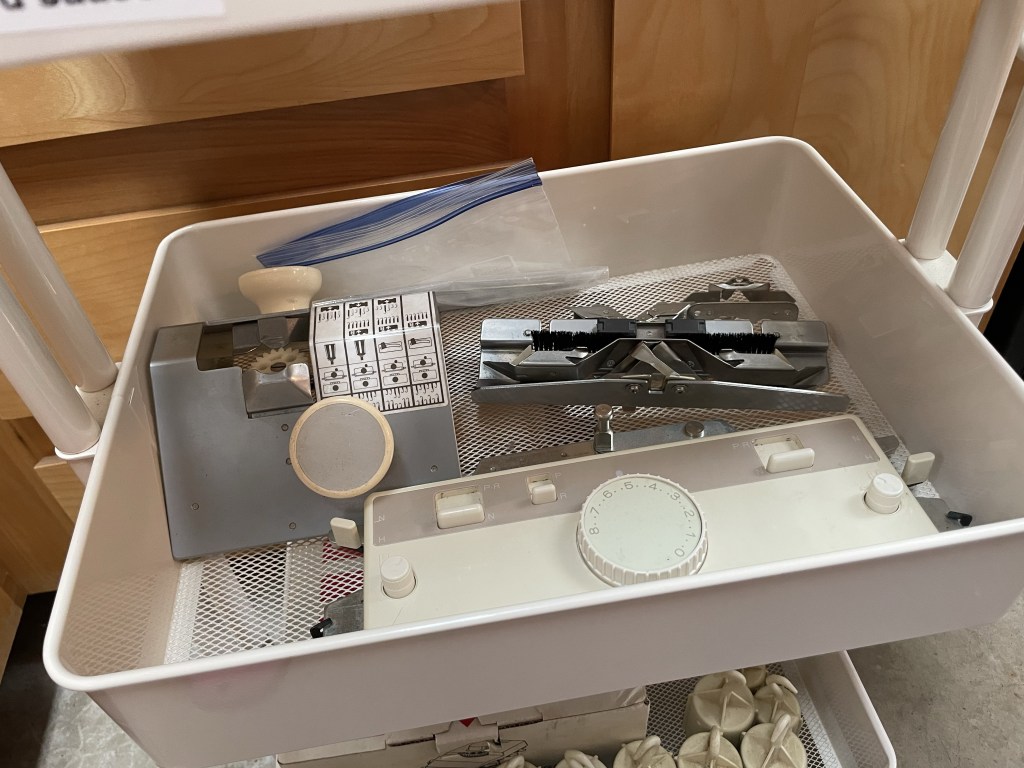
The Craft Cart
It’s not technically a knitting machine accessory, but it sure does make life easier! If you don’t use one already, consider getting a craft cart to help organize your machine knitting tools and accessories. I use a three tiered craft cart to keep my weights, carriages, and accessories organized and…
-
CONE Yarn Review: Brown Sheep Nature Spun Sport
It’s fall, y’all! …well, it is autumn according to the calendar. Sweater weather hasn’t fully arrived yet in Northeast Oklahoma, but I am here for you with a seasonally appropriate review of Brown Sheep Nature Spun Sport 100% wool yarn ON CONES! Before we get into my knitting experience, here…
-

Confronting Color
In case you missed it, I recently reviewed Alison Dupernex’s Creative Machine Knitting. And boy can I say I was excited but also nervous when I noticed she replied to my Instagram post about the review. …I threw all my designs in and my ‘colour madness’ to encourage and inspire…
-
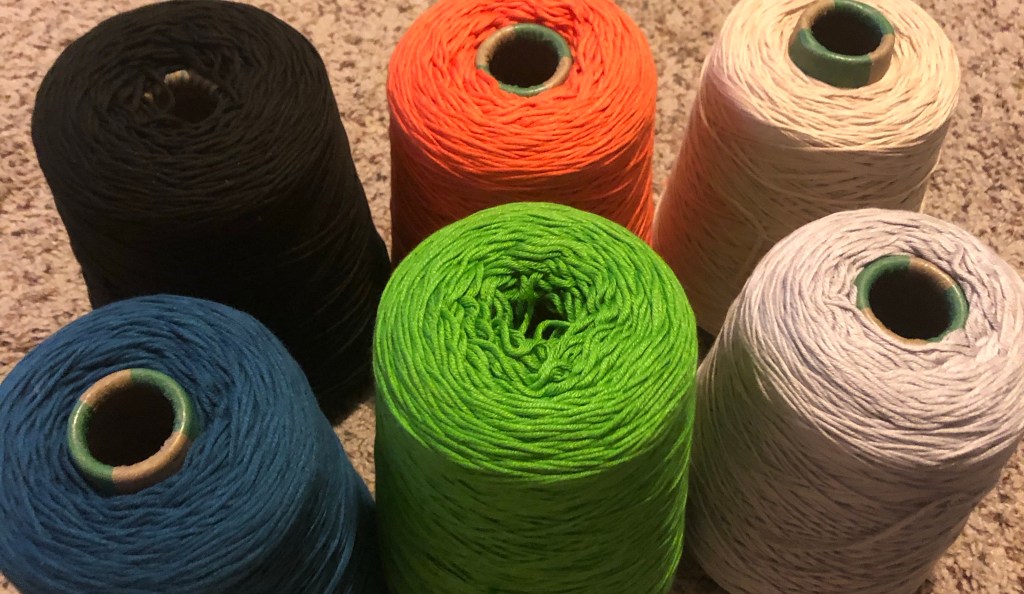
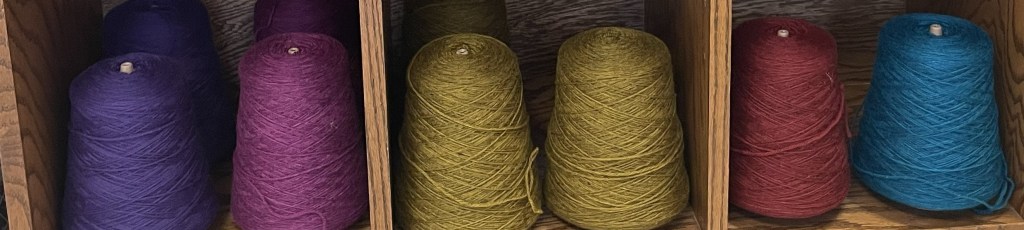
Finding Cone Yarn
Knitting machines can use a range of yarn from all kinds of put-ups like we saw in my last post, but the easiest and best put-up for machine knitting is cone yarn. Cones don’t need extra preparation before use, have more yardage in general, and often feature unique textures or…
-

Your YARN is the Problem — Part One: Hand Knitting Yarn Prep
You might have encountered one of these problems before: the yarn stopped flowing through the tension unit and the tension wire bent all the way towards the carriage and needle bed, the carriage jammed, an entire row knitted at a much tighter tension than you wanted, the yarn broke. If you…

