Have you heard of plating? Not metal plating- yarn plating on the knitting machine!
Most knitting machines can plate with an attachment or interchangeable carriage piece, but plating is a built-in carriage capability on the Silver Reed LK150 6.5mm mid-gauge machine.
It’s described in the manual as two different yarns knitted together where
one yarn appears on the knit side while the second yarn appears on the purl side of the knitting
SilverReed LK150 Instruction Manual p22
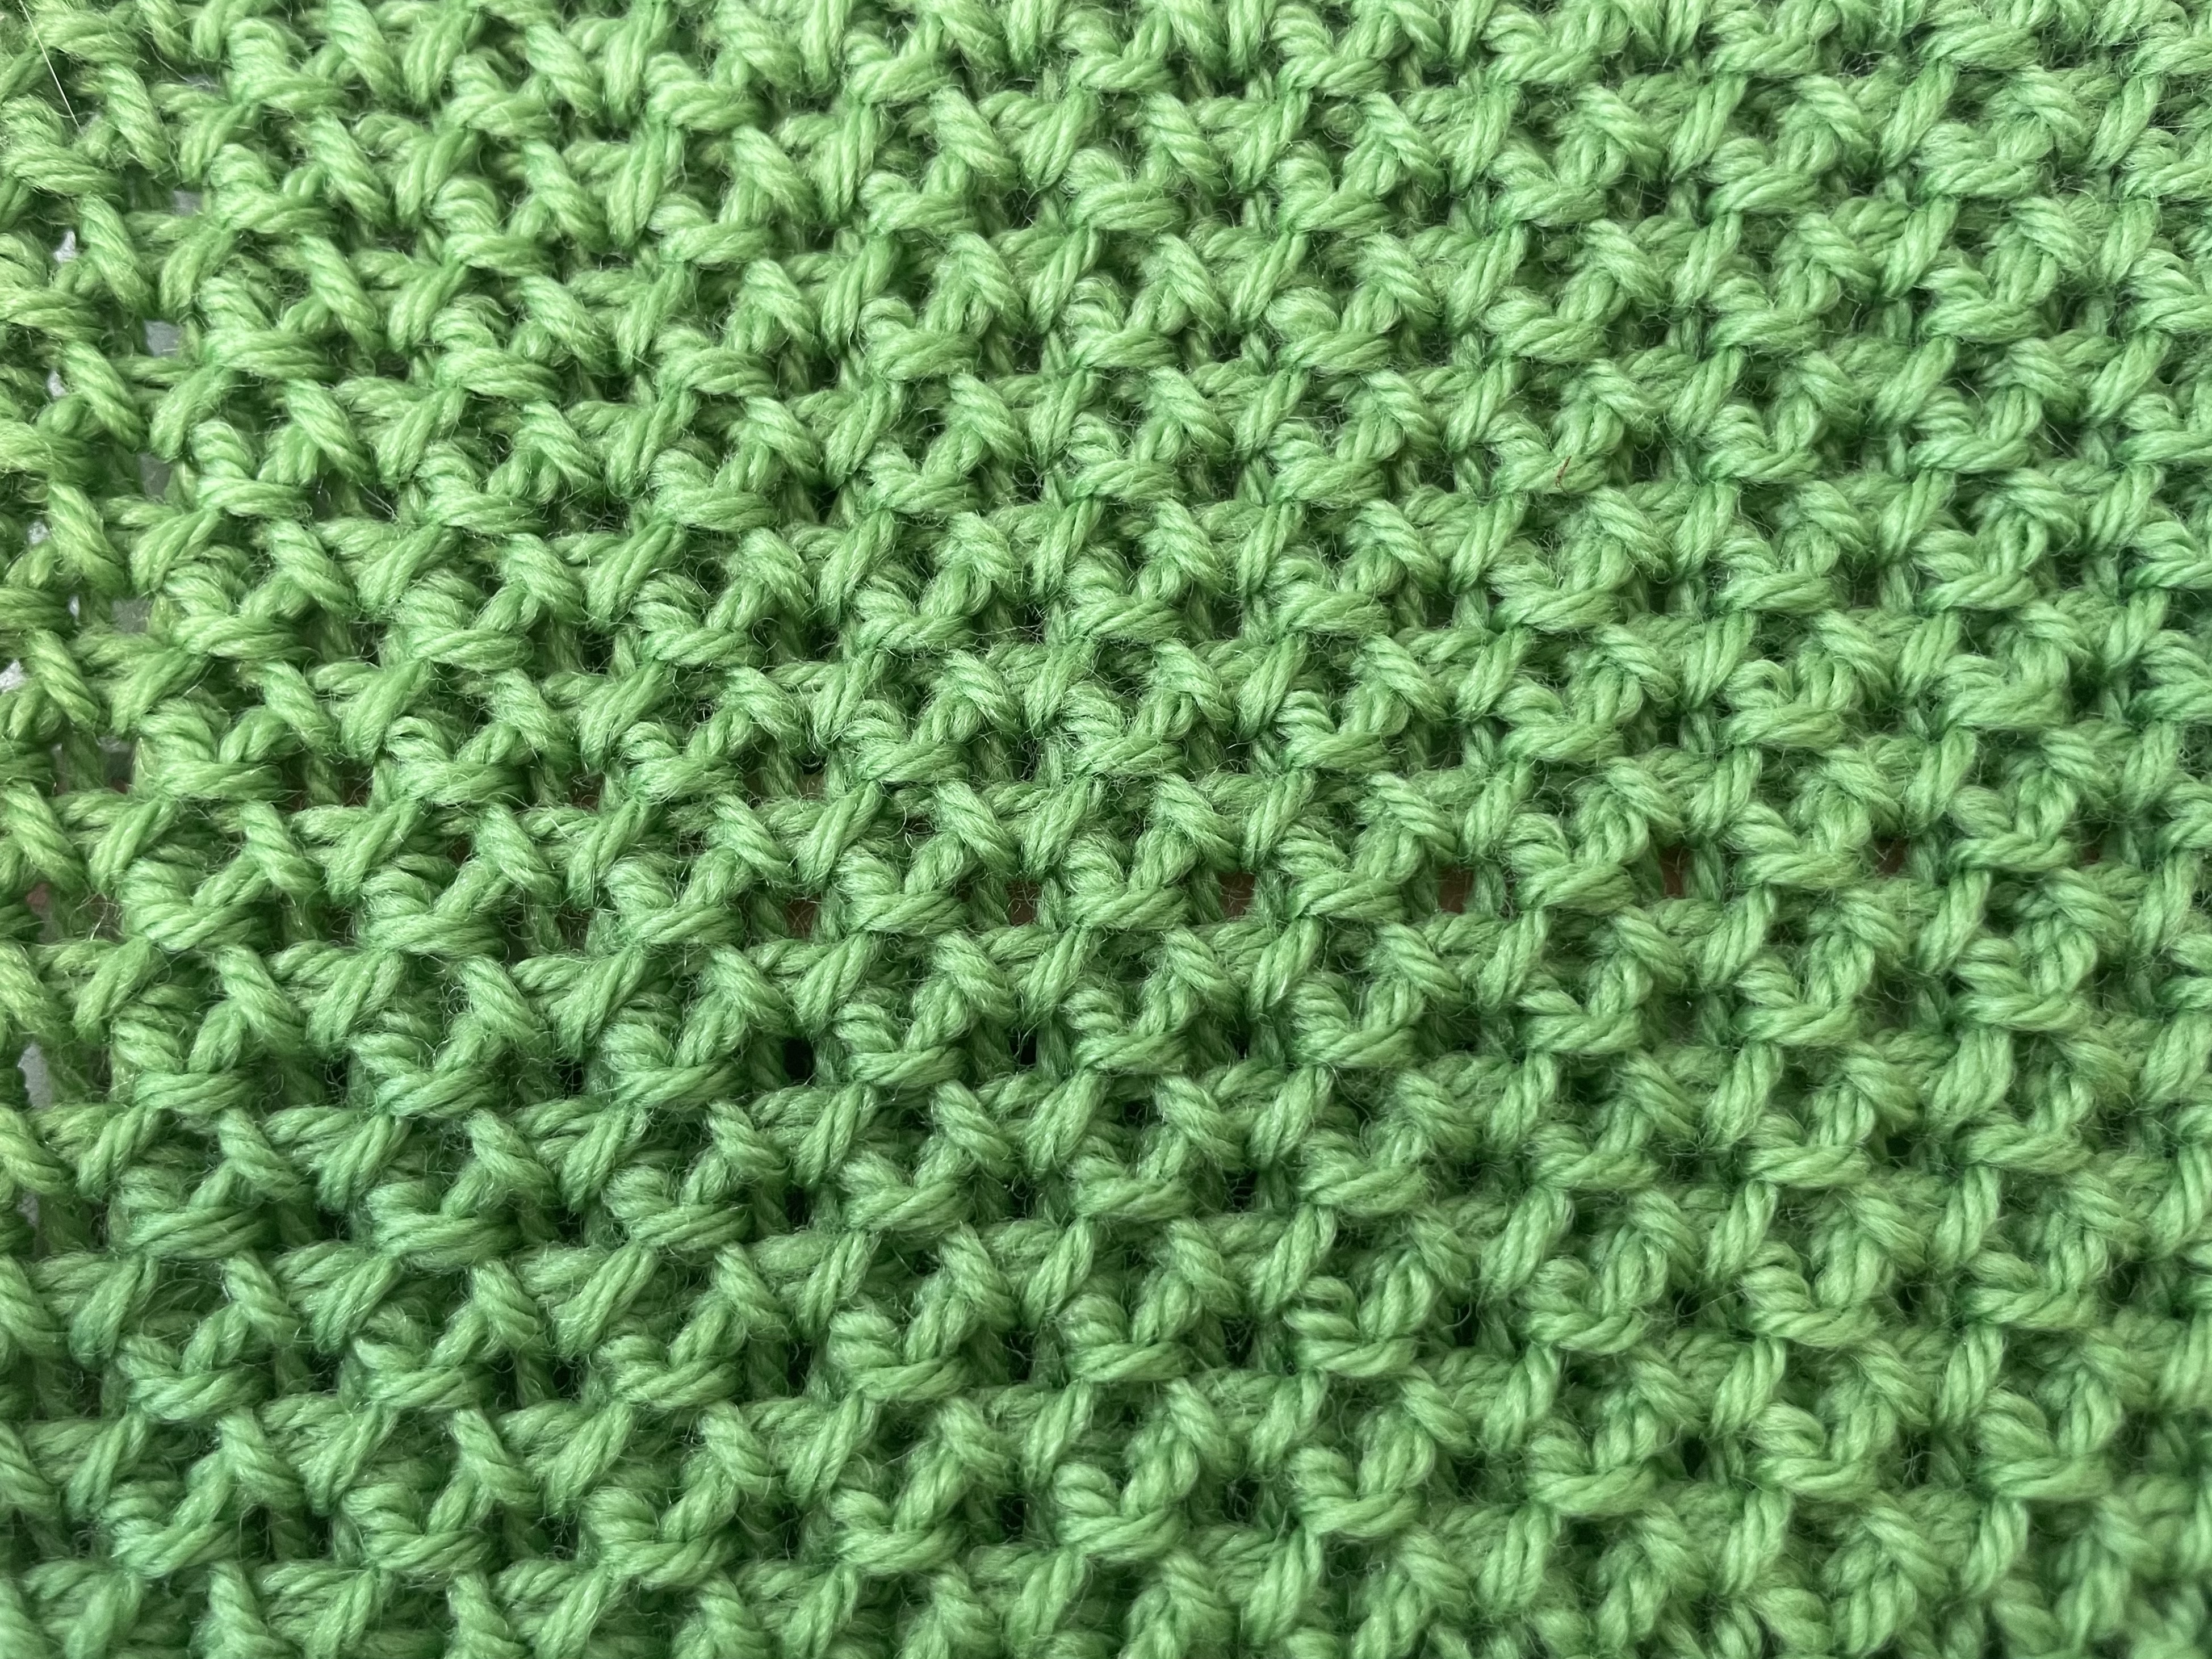
The yarns are usually different weights and fibers with one giving additional support to the construction of the fabric and/or adding special visuals like the swatch below.
(If you really want to dive into the technicalities, check out section 6.8.3 Plating in Knitting Technology by David J. Spencer. I thought it was a fascinating read!)

Adding Structure – My AHA! Moment
The swatch above uses a very thin, thread weight rainbow rayon yarn over a wool dress yarn of about fingering weight to create a fabric that couldn’t exist without utilizing plating. But how did I get there?
When I was a machine knitting beginner, my friend gifted me THREE CONES of thread weight rainbow rayon yarn. It’s lovely. I adore the colors.
But…
The yarn is so thin that I found it difficult to work with on a standard 4.5mm gauge knitting machine. It’s just too small, and I had no clue what I could make with it. Perhaps a light shawl, but I didn’t think that would work.
Plus… rayon isn’t known as “the poor man’s silk” for nothing. It has a smooth texture and a lovely drape. But that drape comes with drop sometimes. Rayon knits can stretch in length under their own weight, and that can create some fit issues like armholes dropping or skirts falling to an undesired length.
So rayon isn’t always a good choice for some projects unless you combine it with another fiber and use it in a blended yarn, but I already had yarn that was 100% rayon with no clue what to do with it…
That’s when my teacher and mentor Pamela Carrico of CMO Designer Knits introduced me to plating. She gave me the wool dress yarn and suggested plating my rainbow rayon yarn on top of it.
It’s. Perfect.
The wool yarn grants elasticity and memory to the fabric and gives it structure due to the way wool fiber clings to itself at the microscopic level with tiny scales. That wool yarn basically negated rayon’s inherent issues.
The wool is about fingering weight and was much more manageable than thread for me as a beginner. The fabric it created was still nice and lightweight, so that meant it was still wearable while being wool, which matters in Oklahoma.
A “what the heck” yarn turned into “this works perfectly” in an instant.
Visual Appeal
The wool yarn has a blush pinkish grey appearance that doesn’t photograph well and didn’t stand out much on its own. As someone attracted to color, I would have passed it up if Pamela hadn’t suggested it.
She knew that rayon needed structure, and she knew my particular rayon didn’t need more color.
Adding the rayon to the wool took it from slightly boring to amazing. The wool didn’t really need anything, but the rainbow colors helped it make a complete fabric.
You won’t always have yarn features or issues to work around like I did, but you might find yourself wanting something more from your yarn, and plating offers that, too.
Lurex metallic yarns are easy to find on sites like Etsy, but sparkle isn’t all you can add to your work. Bouclé yarns add both visual interest and texture to your fabric. The possibilities are nearly endless.
So if you find yourself with a yarn that just doesn’t work on its own, try plating with it!
Plating Issues
Perfect plating places the yarn on the correct side every time, but for me on my standard gauge machine, that meant very careful carriage pushing and checking every row after it was knit. Even then, it didn’t always come out as planned.

If you look closely, you can see plenty of rows where the wool came through on the purl side and the rainbow rayon came through on the knit side. I wanted the rainbow on the purl side and the wool on the knit side for this swatch, but that just didn’t happen.
So where does the LK150 come in?
So far I’ve only discussed my experience with plating on a standard 4.5mm machine, but that’s not what the title said this post was about!
In my personal experience, I have not had the issues with yarns visiting the incorrect side of the fabric when I use the LK150 for plating. Instead of using an interchangeable part, the plating feature is built into the carriage, and I believe this is what makes it a more “stable” plating option.
For the smaller “top” yarn, I’ve used the thread rayon yarn, lace weight yarns, and even sock weight yarns on top of fingering and DK weight yarns. I even attempted plating two fingering weight yarns, which worked, but it wasn’t quite as nice of a fabric as the other combinations.
While preparing this post, I tried running the carriage across the needle bed very quickly, and I still did not experience yarns hitting the incorrect side of the work. This may not be universal and my machine’s younger age (about 3-4 years) might matter. I’m not complaining!
Plating takes yarns that might not be suitable on their own for your machine and makes working with them possible.
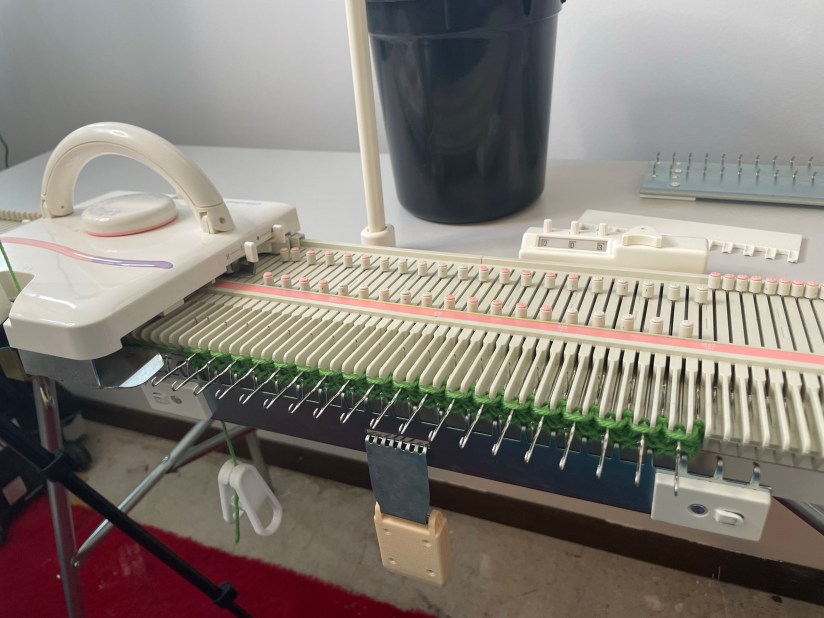
How to Plate on the LK150
Thread one yarn into slot 1, thread a second yarn into slot 2 and knit the night away!
That’s all it takes, but you should also make sure the yarns are not close to each other where they might twist or static cling to each other as they feed through the tension unit and carriage. Twisting two yarns together can make an interesting fabric, but that is not what we want in plating.
I can never remember which slot places yarn on the knit side and the purl side, so the first row of my swatches is often opposite of what I intended.
I’ve written it all out here so you won’t have the same problem! I’ll refer to the smaller yarn as the plating yarn.


If you want your plating yarn to show on the purl side, thread it into slot 2 of the carriage.
If you want the plating yarn to show on the knit side, thread it into slot 1 of the carriage.
Once your carriage is set, swatch for tension and knit as usual!
I really do mean “knit as usual.” You can short row, cable, increase, decrease, and transfer stitches as you normally would while yarn plating.
You will want to be careful about where each yarn sits on the needle with any laddering and latching up to form purls for ribbing or texture stitches. The yarns need to stay on their respective sides of the knit fabric.
The same goes for stitch transferring and fixing dropped stitches. Make sure you catch both loops of yarn and re-hang them in the right orientation.

What do you think? Have you tried plating yarn before? Do you think you’ll try it now on the Silver Reed LK150? Let me know in the comments!
As always, thank you for reading and coming along on my machine knitting journey!