

There aren’t really many entry level or hobby options for knitting machines in production these days. Your options are the SilverReed LK 150 6.5mm mid-gauge or … nothing. That’s it. The LK 150 is the only hobby plastic machine still in production.
The LK 150 is a great machine, and I love mine, but the $440.00 MSRP is a lot of money for something you might not be certain about.
BUT if you look to the used or vintage market, you might be surprised with what you can find.
The Brother KX 350 is another mid-gauge plastic bed hobby knitting machine. Many are still floating around in good condition. All they need is a little love, and they’ll be knitting for you for years.
The KX 350 was made in Japan and has 130 needles where the SilverReed LK 150 has 150 and is produced in China. The KX 350’s needles are 7mm apart where the LK 150’s are 6.5mm. The KX 350 cannot “officially” plate yarn, but there is a trick to make it work, where the LK 150 has a yarn plating function built into the carriage. Both machines are manual where the user selects all needles, and both machines can use most hand knitting yarns.
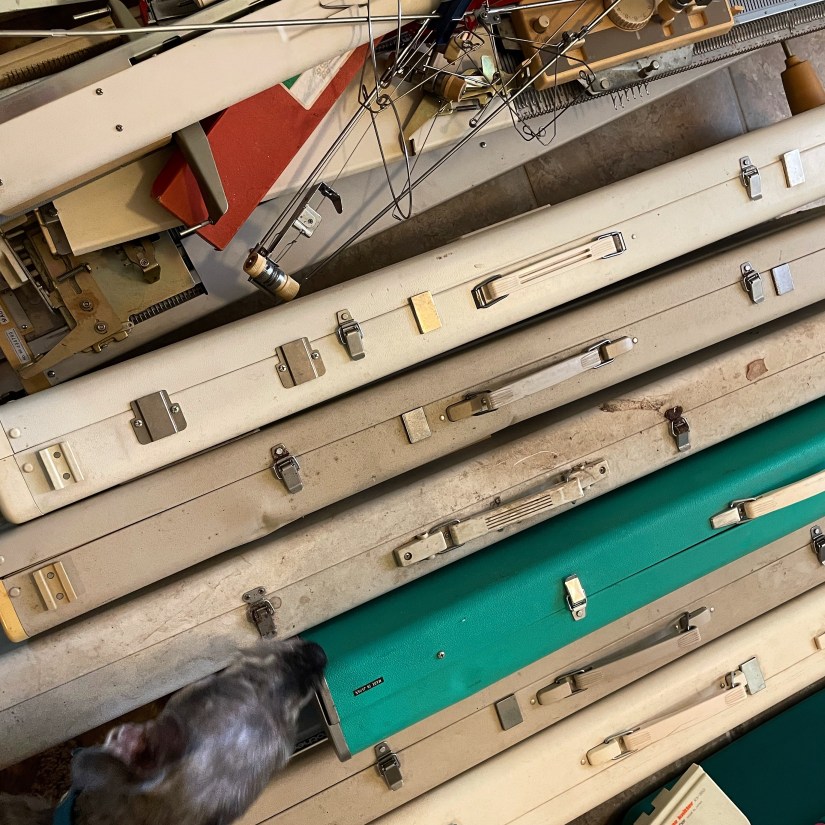
I recently purchased a lot of Brother and Studio machines from an estate sale. Luckily for me, their former owner was a knitting machine dealer and used and maintained her machines well. They’ve been sitting for a couple years, but the buildup on the machines is much less than what I’ve found on other vintage machines that sat for over a decade before I cleaned them.
Other than the accessories and pieces being stored by type (tension units with tension units, cast on combs with cast on combs), the recent machine lot is in good shape.
This makes the restoration process for the majority of these machines more of a simple cleaning rather than replacing and repairing parts like my on-hold Brother KH 260 restoration with a broken patterning unit. That one has to wait until I can procure parts, which is one of the downfalls of working with out of production machines versus current models.
The Cleaning Process
Inventory the Machine
Before I started cleaning, I downloaded the KX 350’s manual from Machine Knitting Etc. I checked parts and accessories against the manual so I could order any missing items as soon as possible.
The accessories for my newly-acquired machines are scattered throughout machine cases and random boxes, but this KX 350 was only missing a 1×2 transfer tool. That’s not too bad, and it could still pop up somewhere.

Cleaning Supplies
- LPS 1
- LPS Food Grade H1
- Dawn dish soap
- Lukewarm water
- Toothbrush
- Clean paintbrush
- Old towels
- Blue paper towels
- Mineral Spirits
- Glass jar with lid
- Sponge with Brillo pad side
- Washi tape
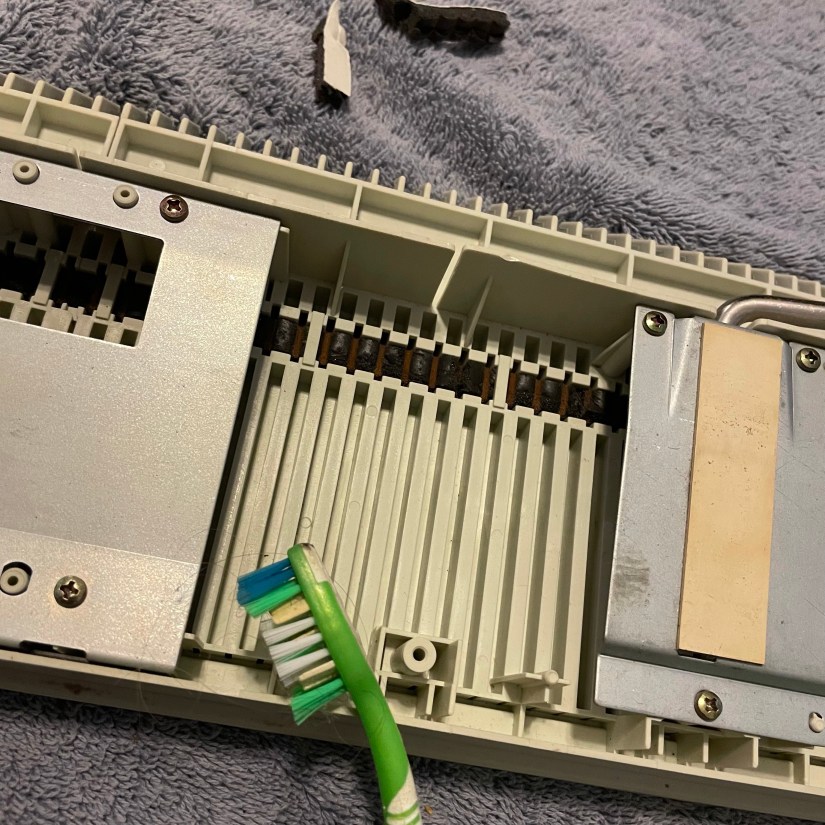
Cleaning the Needle Bed
I started by removing the needles from the needle bed and storing them in my glass jar.
I attempted to pull the old sponge strip out of the machine in one piece, but it had other ideas.
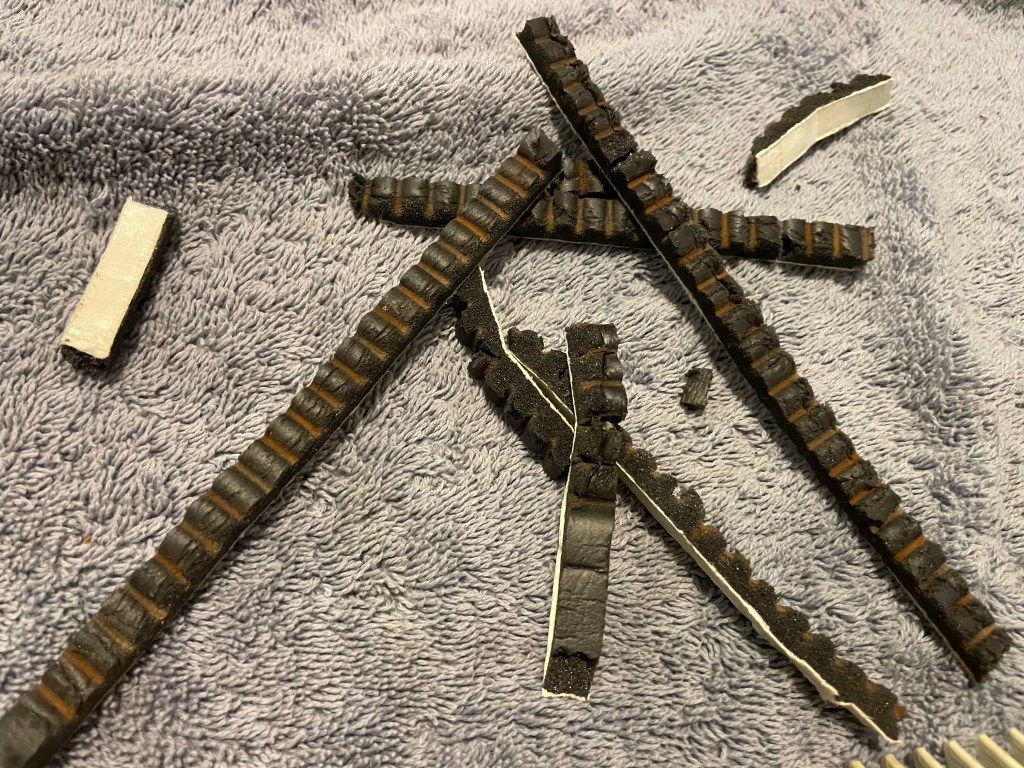
The old sponge strip had no memory or spring left to it, and the places where the needles rested were clearly visible.

Once the needles were out of the way, I used my clean paint brush to brush away as much dust and dirt as possible. I was surprised at just how much cleaner the machine was with just a little bit of dusting.
I used a paintbrush because the bristles were long enough to reach into the needle slots where the toothbrush couldn’t. As long as your brush doesn’t shed bristles, you should be fine. You don’t want to have to fish out bristles in addition to the rest of your cleaning.
I filled a bowl with tepid water and a little bit of Dawn dish soap. I used a lightly wetted toothbrush to scrub away the dirt and grime.
Emphasis on the lightly.
The bottom of the needle bet still hosts metal parts, so I was careful not to over-wet the toothbrush and slop water everywhere. I worked in small areas and wiped things dry as I went. I did scrub the metal sections, but I was very careful to thoroughly dry them.
I could have removed the metal support sections and cleaned them separately, but they were not dirty enough to warrant it in my opinion. There was no rust to remove.
If you are cleaning a KX 350 and decide to remove the metal support pieces, I recommend taking pictures of each support piece and its screws individually before and after removal and keeping them in labeled bags to ensure you don’t lose screws and parts. You’re always better off safe than sorry when working with vintage machines since parts have iffy availability.
For any remaining grime in the needle slots, I sprayed a tiny bit of LPS 1 and scrubbed it with the toothbrush. According to Ask Jack at The Answer Lady, LPS 1 is safe on plastic bed machines as well as metal machines, but I think it’s best to attempt soap and water first.

After I finished the needle bed, I took my toothbrush and soapy water to the carriage and wiped the metal carriage plates and accessories with an LPS 1 wipe. (I ordered my LPS 1 wipes from EMI Supply.)
I placed a strip of washi tape on each accessory and put a matching strip on the needle bed. I have quite a few machines, especially mid-gauge and bulky, with accessories that all look about the same at a glance, so I make sure to give each machine its own washi tape code.
Replacing the Sponge Strip
You should always replace the sponge strip in a new-to-you machine unless the seller explicitly states they have installed a new sponge strip and you have checked that it is new. Trust but verify!
The sponge strip/sponge bar is vital to your machine knitting fabric properly.
All that said, replacing the sponge strip in a plastic hobby machine is for. the. birds. This vital process is tedious at best. Give me a metal machine’s sponge bar any day!
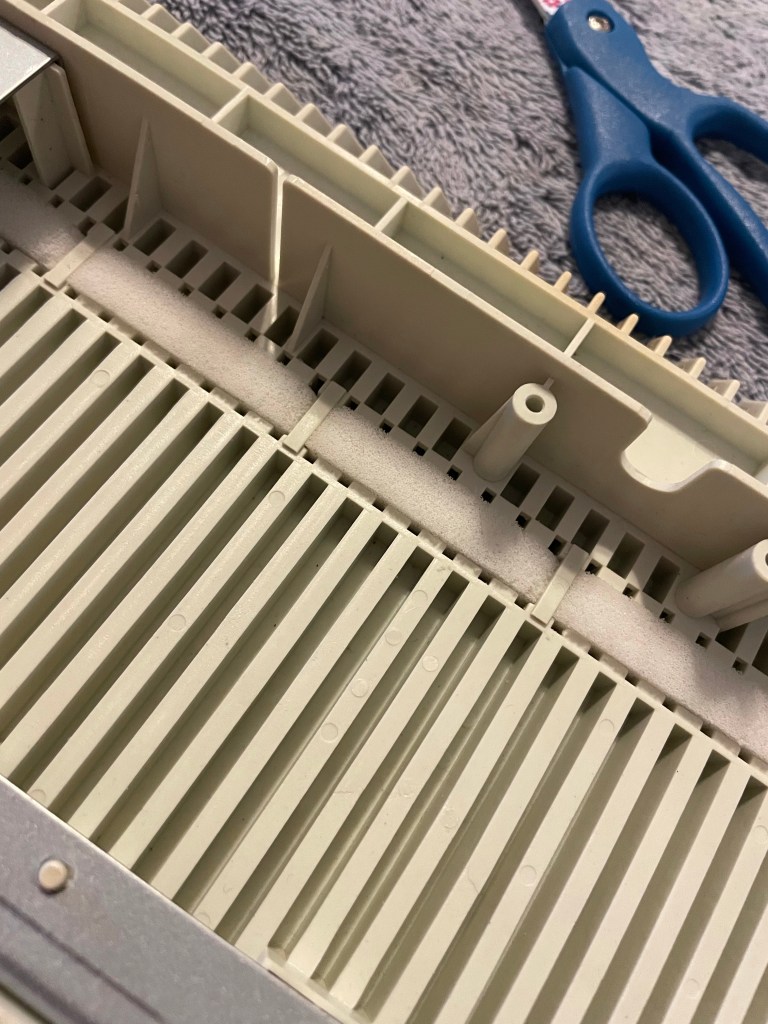
The KX 350 has the added insult of these bars across the sponge strip channel.

I used a transfer tool to help scrunch and inch the sponge strip through the channel and under the bars, but any narrow, blunt-tipped object would probably work. I tried to pull the strip with tweezers initially, but it tore the end of the strip and began to tear at the part under the channel bar. I don’t recommend pulling the sponge strip through.
Sponge strips are longer than the needle bed, so I simply snipped off the ugly end, but it would have been fine to leave it as the ends are not actively supporting any needles during knitting.
Needle Cleaning
Upon closer inspection, quite a few needles from this machine had rust on them. A few latches were rusted in the open position, but the majority of rust was in small patches along the length of the needle between latch and butt and would not affect their functionality in knitting. It seems like these needles had some sort of metal plating on them that had just worn off.
While I worked on cleaning the needle bed, I let the needles soak in some mineral spirits in a sealed glass jar.

After I finished the needle bed and carriage, I sat outside on my porch and wiped down each needle with blue towel and checked the latch function. It was another task on the tedious end of machine cleaning, but it’s worth it to do it all at once rather than pulling supplies out again mid-test knitting.
I used the toothbrush and a sponge Brillo pad to remove rusty spots, but I think steel wool might have worked better in hindsight.
A couple needles had rough formerly-rusted parts on the actual hook of the latch that could catch on yarn, so I soaked them again overnight and scrubbed them as best as I could before returning them to the needle bed.
I sprayed the needle bed slots with H1 Food Grade lubricant and made sure to wipe off any excess from the top of the bed before reinstalling the needles. I gave the carriage a spray of H1 as well to prepare it for knitting.

Test Knitting
With the bed freshly cleaned and assembled, I started test knitting. I used leftover Piropo, a vintage acrylic Millor yarn.
When testing a machine, I believe you should knit using every single function the machine has available. If your machine has a punch card, you should test the punch card functions. If you have a lace carriage, you should test the lace carriage.
For the KX 350, testing means knitting stitches that use the part and hold levers on the side of the carriage for tuck and skip stitches along with some fair isle colorwork. Testing at different tensions is important, too.
Final Thoughts
I bought this lot of machines intending to clean, refurbish, and resell most of them, but working with this KX 350 has me really tempted to keep it. This sturdy little manual machine has a lot of knitting left in it.
Cleaning was a series of simple, sometimes tedious tasks that ultimately added up to about a day or long afternoon of work if you don’t count the downtime of soaking needles.
Since I’m pretty sure the missing transfer tool is floating around my machine shelf, the only part replacement I needed to complete was changing the sponge strip. And replacing a sponge strip/bar is a part of regular knitting machine maintenance, so I feel like that barely counts.
I hope reading through my cleaning process helped you whether you are looking to revive a used machine or simply storing up tips for the future.
If you’re interested in what working on a metal bed machine looks like, check out this post on a Brother KH 260 restoration in process.
Keep an eye here on the site in the future for the Store tab featuring cleaned, refurbished, and TESTED vintage machines in addition to patterns, finished garments, and machine accessories.
Thanks for coming along this knitting journey with me!

