Category: Knitting Machines
-
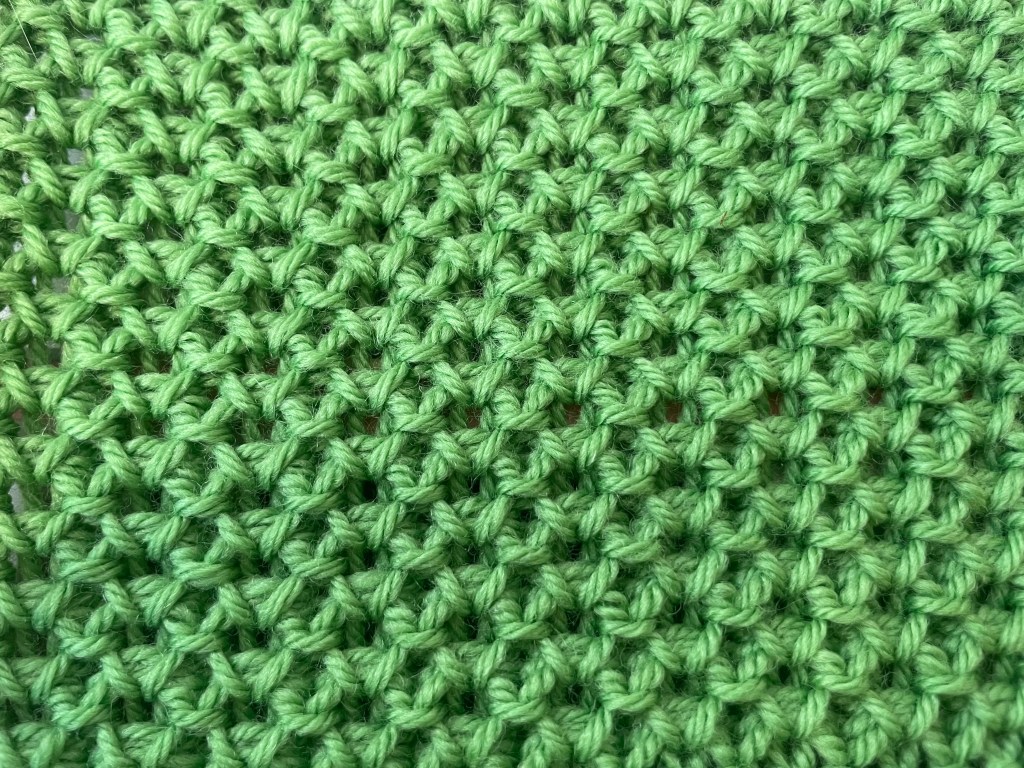
Free Step-by-Step Wristwarmer Pattern
Happy New Year, everyone! You might recognize this stitch from my Using The Needle Beetle with Bonus Baby Blanket Recipe post. I received a few requests for a step-by-step tutorial (a few of which were tied up in spam filters, so my apologies to those of you who haven’t received…
-
Spring Machine Knitting Seminar
It’s been a while, everyone! I hope you’ve been doing well! If you follow me on Instagram (@ely.knits), you’ll know that I recently hosted my first machine knitting seminar in Tulsa at Get Stitchin’! “Fit, Fabric, and Finishing” was our theme on October 15. Pamela Carrico of CMO Designer Knits…
-
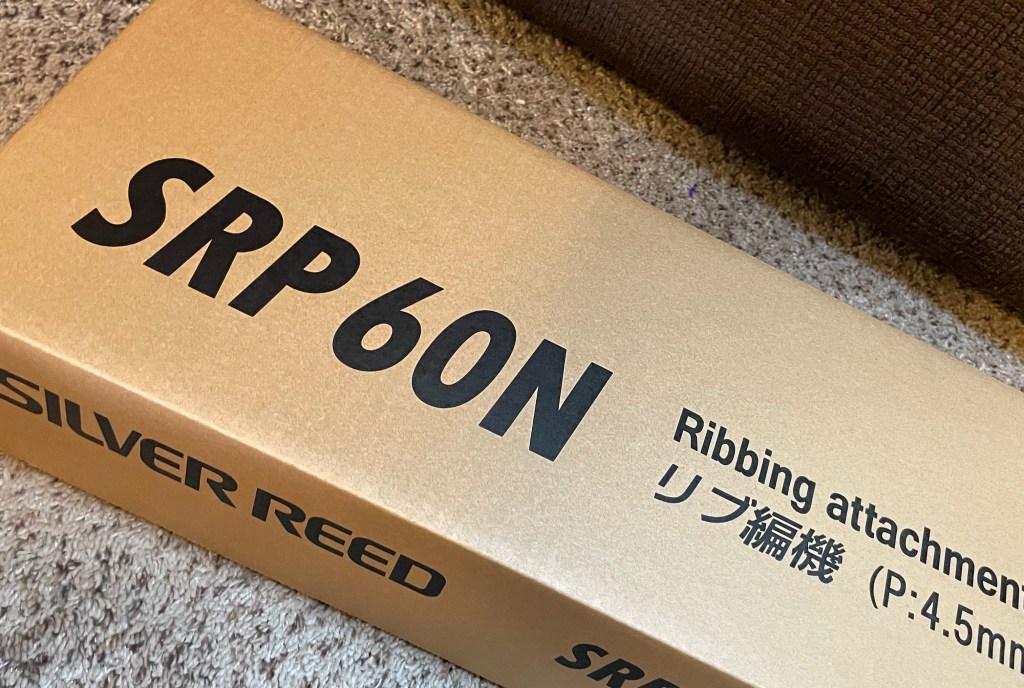
Silver Reed SRP 60N Ribber Attachment Unboxing and Assembly
Last time, we unboxed and assembled the Silver Reed SK 840 standard gauge 4.5mm knitting machine. Now it’s time to learn what comes standard with the Silver Reed SRP60N 4.5mm ribbing attachment, often referred to as a ribber bed or simply a ribber. Let’s see just how adding a second…
-
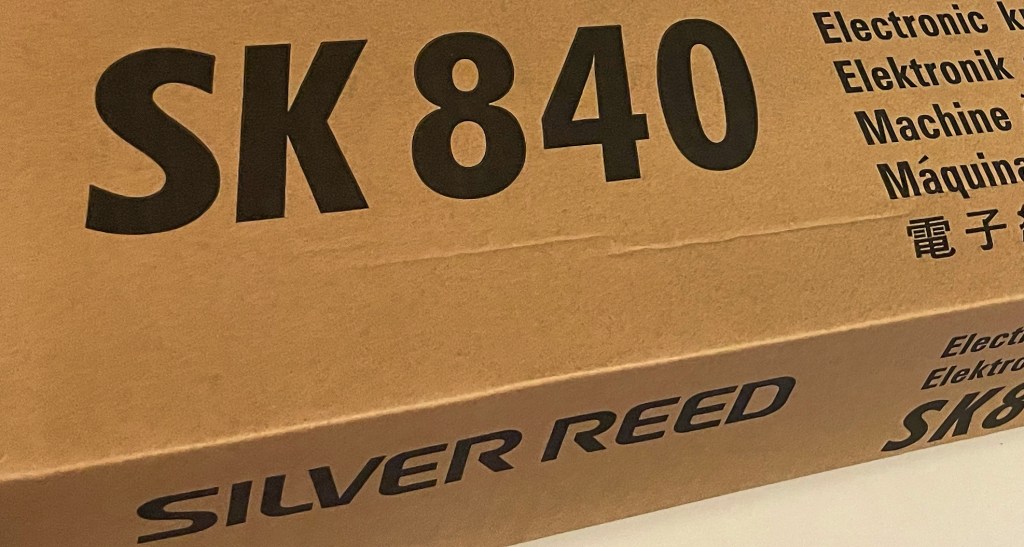
Silver Reed SK 840 Knitting Machine Unboxing and Assembly
If you’re wondering what comes with the Silver Reed SK 840 standard gauge electronic knitting machine right out of the box, this is the post for you! Unboxing Unboxing this machine feels a bit like a Christmas box-in-a-box prank at first, but with good reason. The SK 840 is manufactured…
-
Knitting with Hand and Wrist Pain: My Journey to Machine Knitting
This post includes my own experiences with pain and hand and machine knitting and should not be considered medical advice. If you have a concern about knitting-related pain, you should seek help from a medical professional. More Common Than You Think Over the years I spent working in a yarn…
-

Cleaning a Brother KX 350 – Start to Finish
There aren’t really many entry level or hobby options for knitting machines in production these days. Your options are the SilverReed LK 150 6.5mm mid-gauge or … nothing. That’s it. The LK 150 is the only hobby plastic machine still in production. The LK 150 is a great machine, and…
